|
|
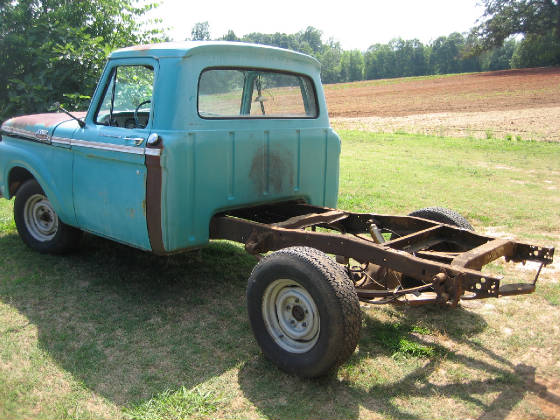
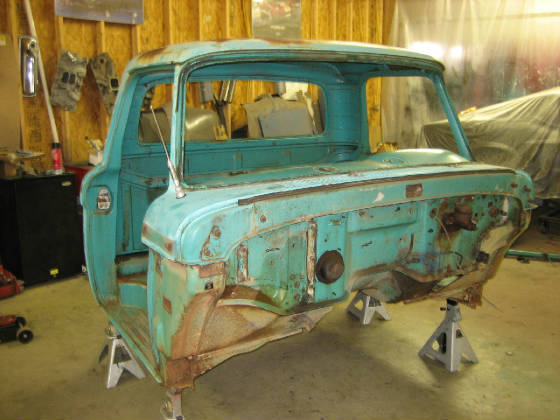
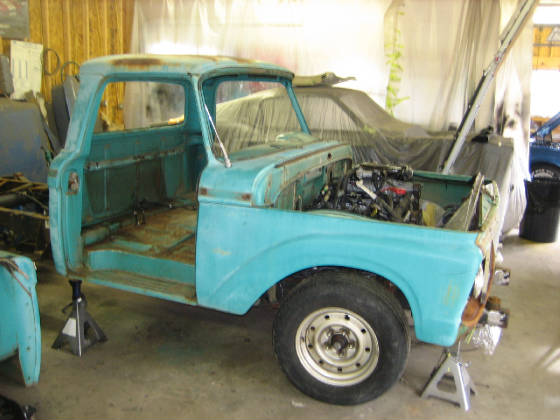
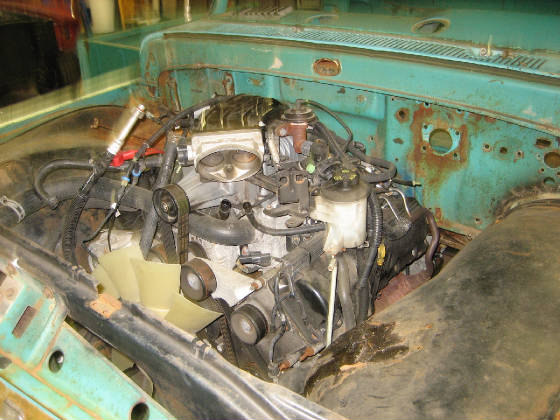
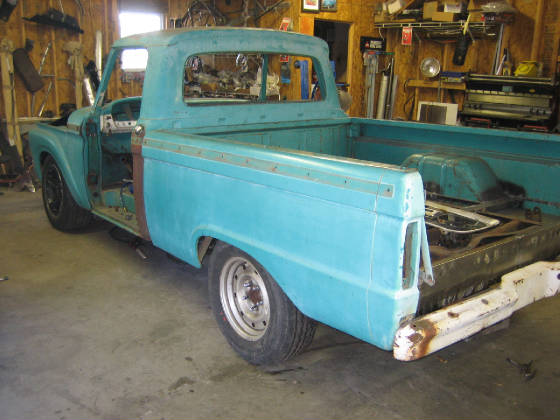
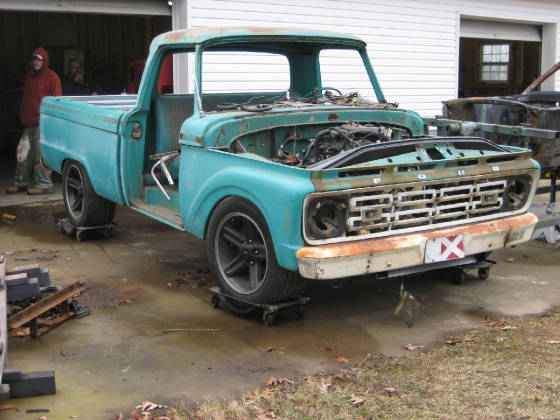
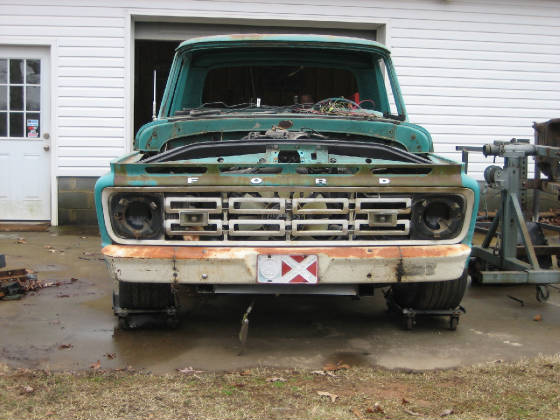
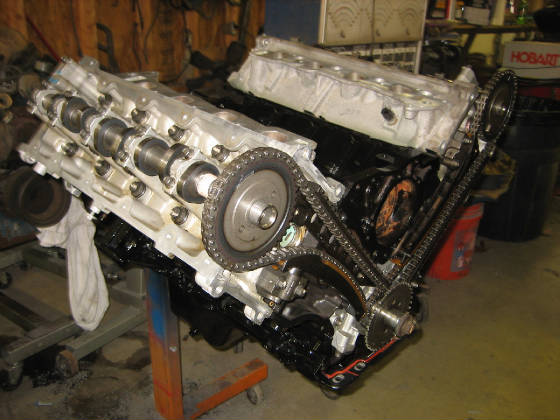
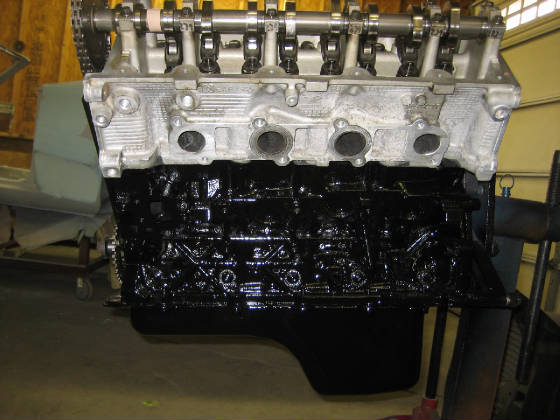
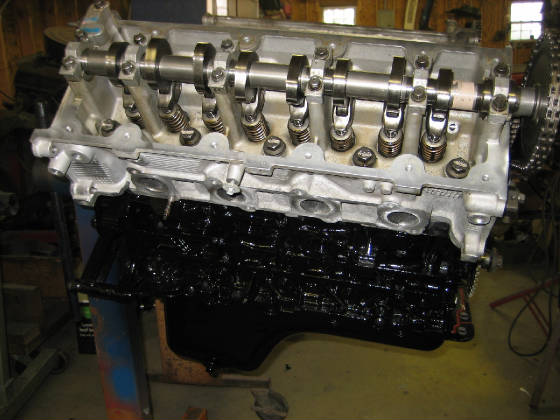
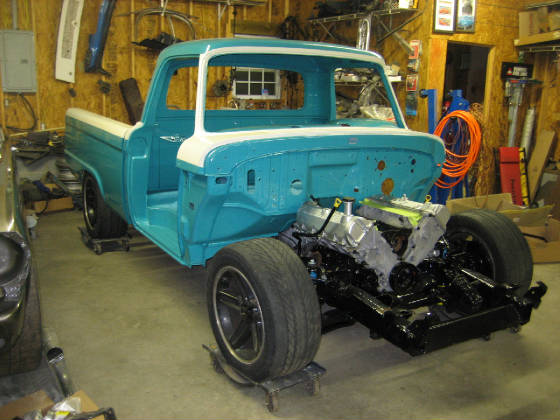
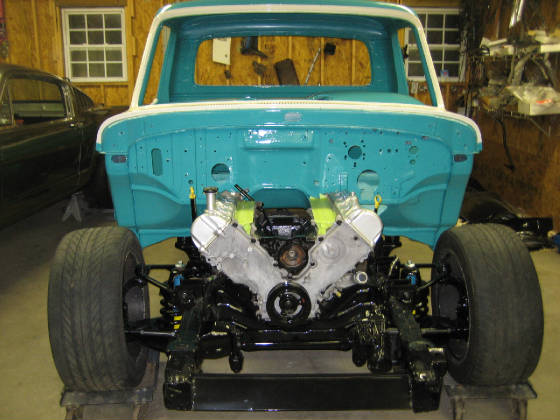
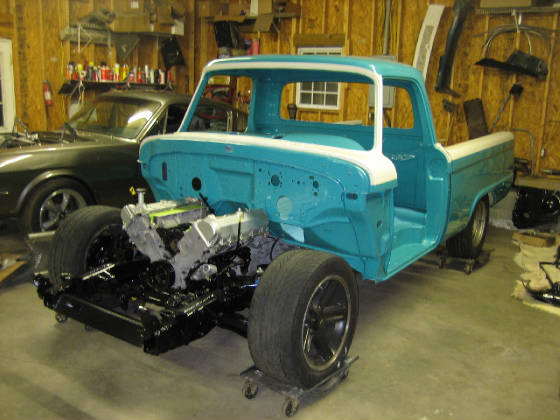
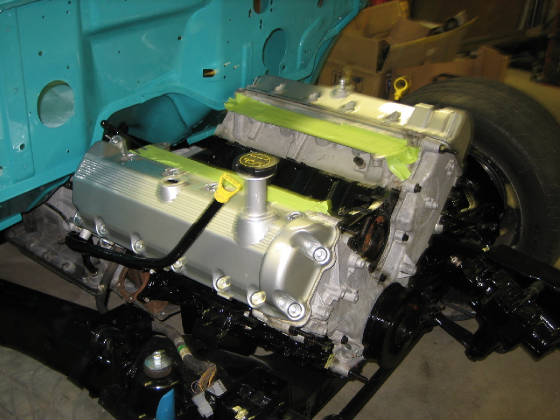
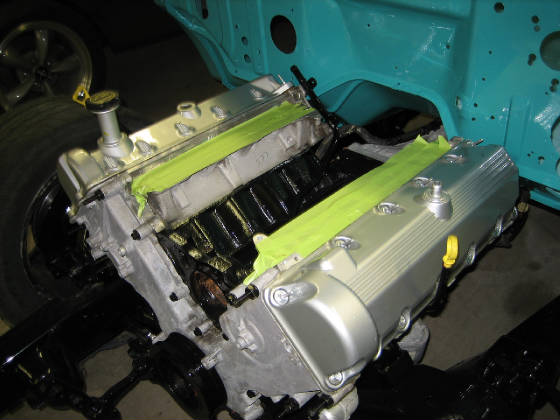
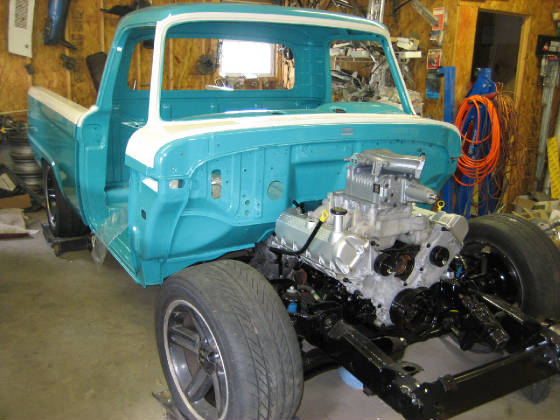
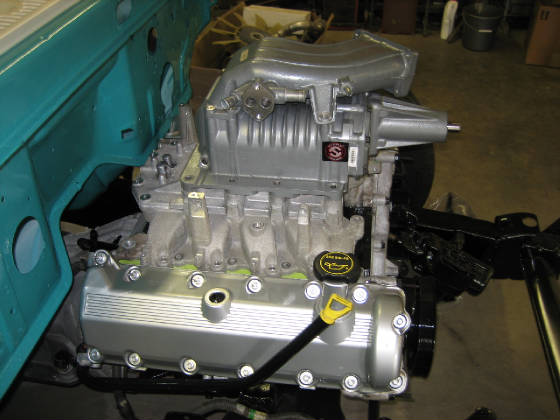
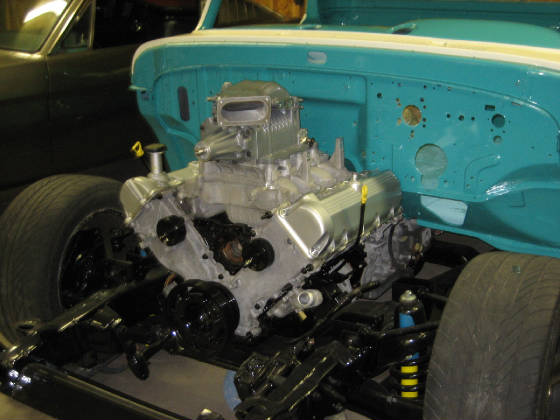
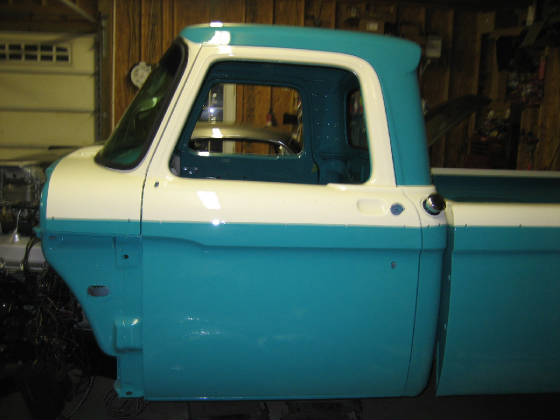
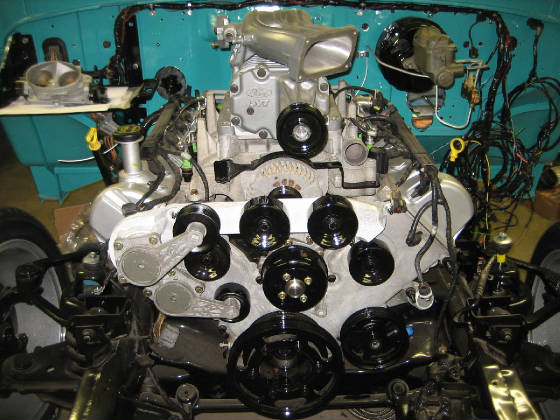
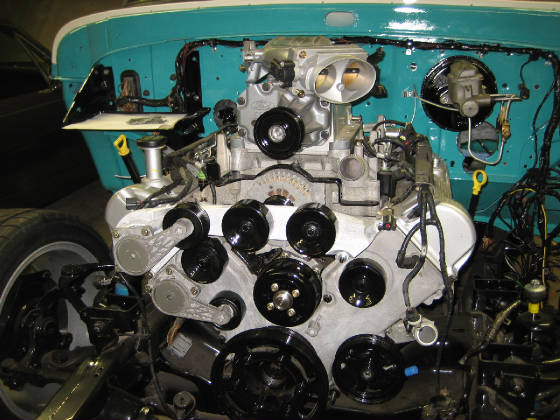
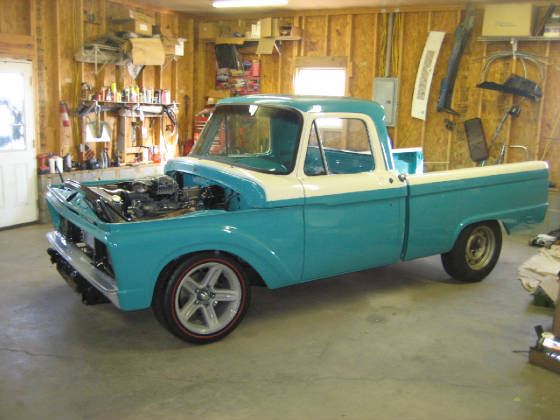
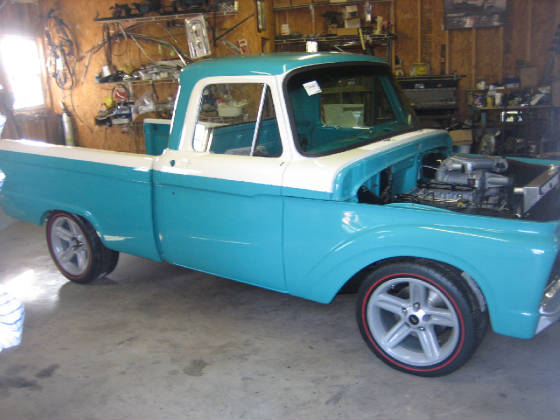
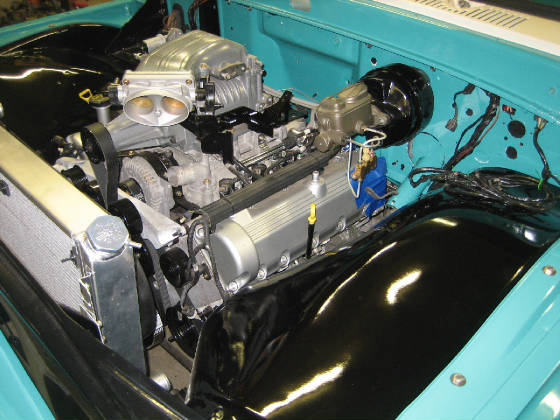
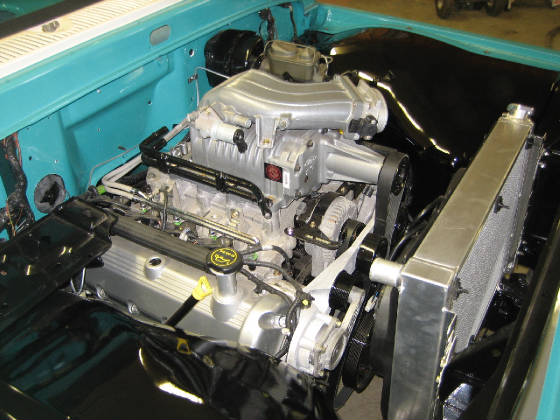
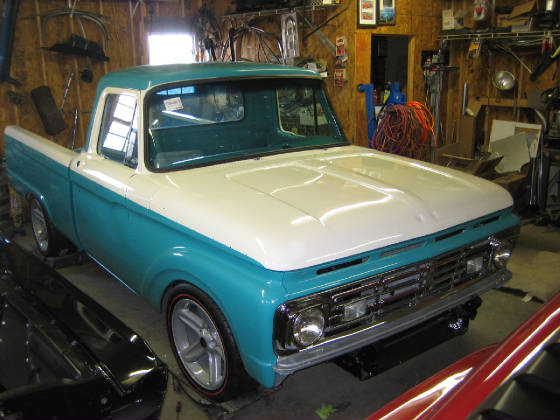
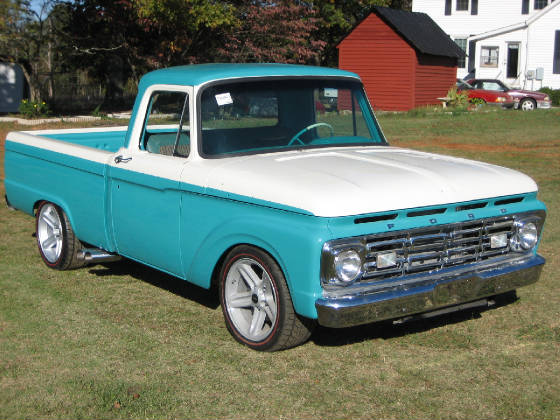
This is our latest project, a 64 f100 which we have placed onto a 2003 lightning chassis, complete with supercharged 5.4L engine , and all of the 03's modern drivetrain . When finished this truck will look like 1964 with a lowered stance, until you open the hood or step on the loud pedal, then its all SVT. We will be documenting every detail of this build here, and also look for it in the pages of every street rod and truck magazine.
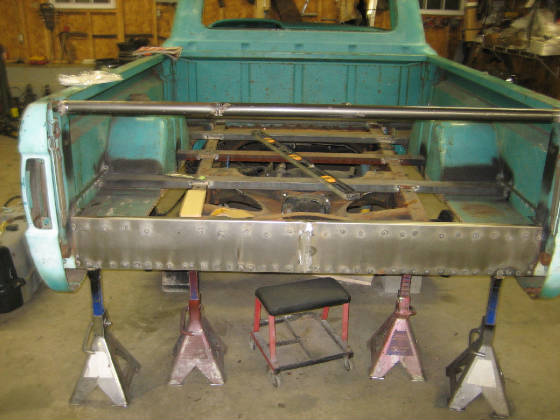
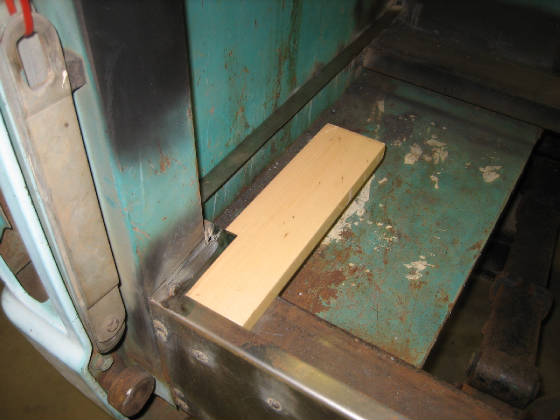
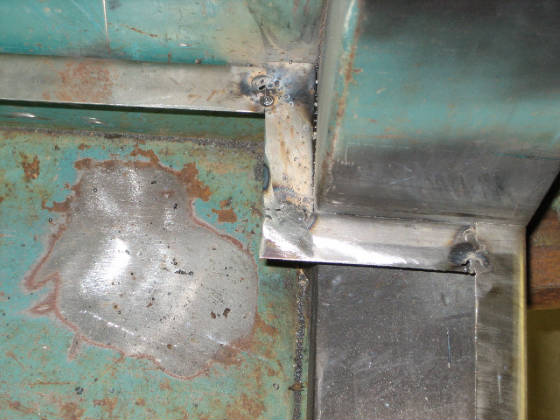
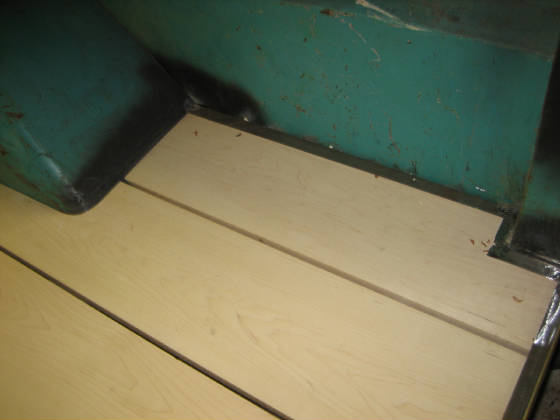
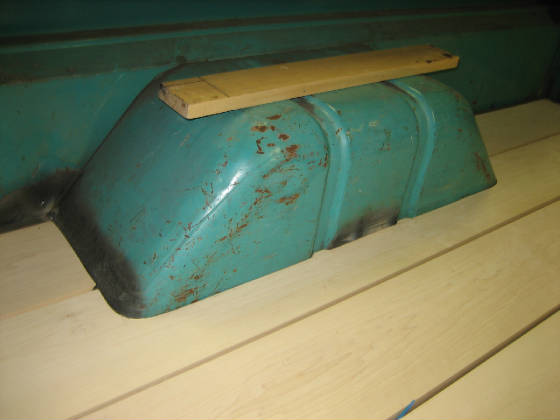
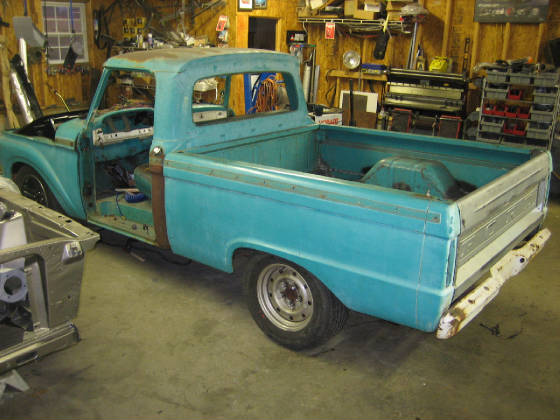
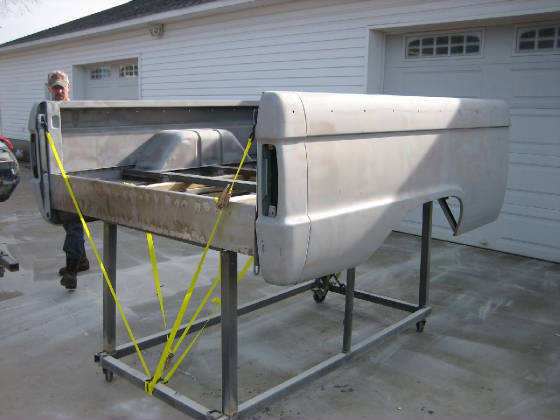
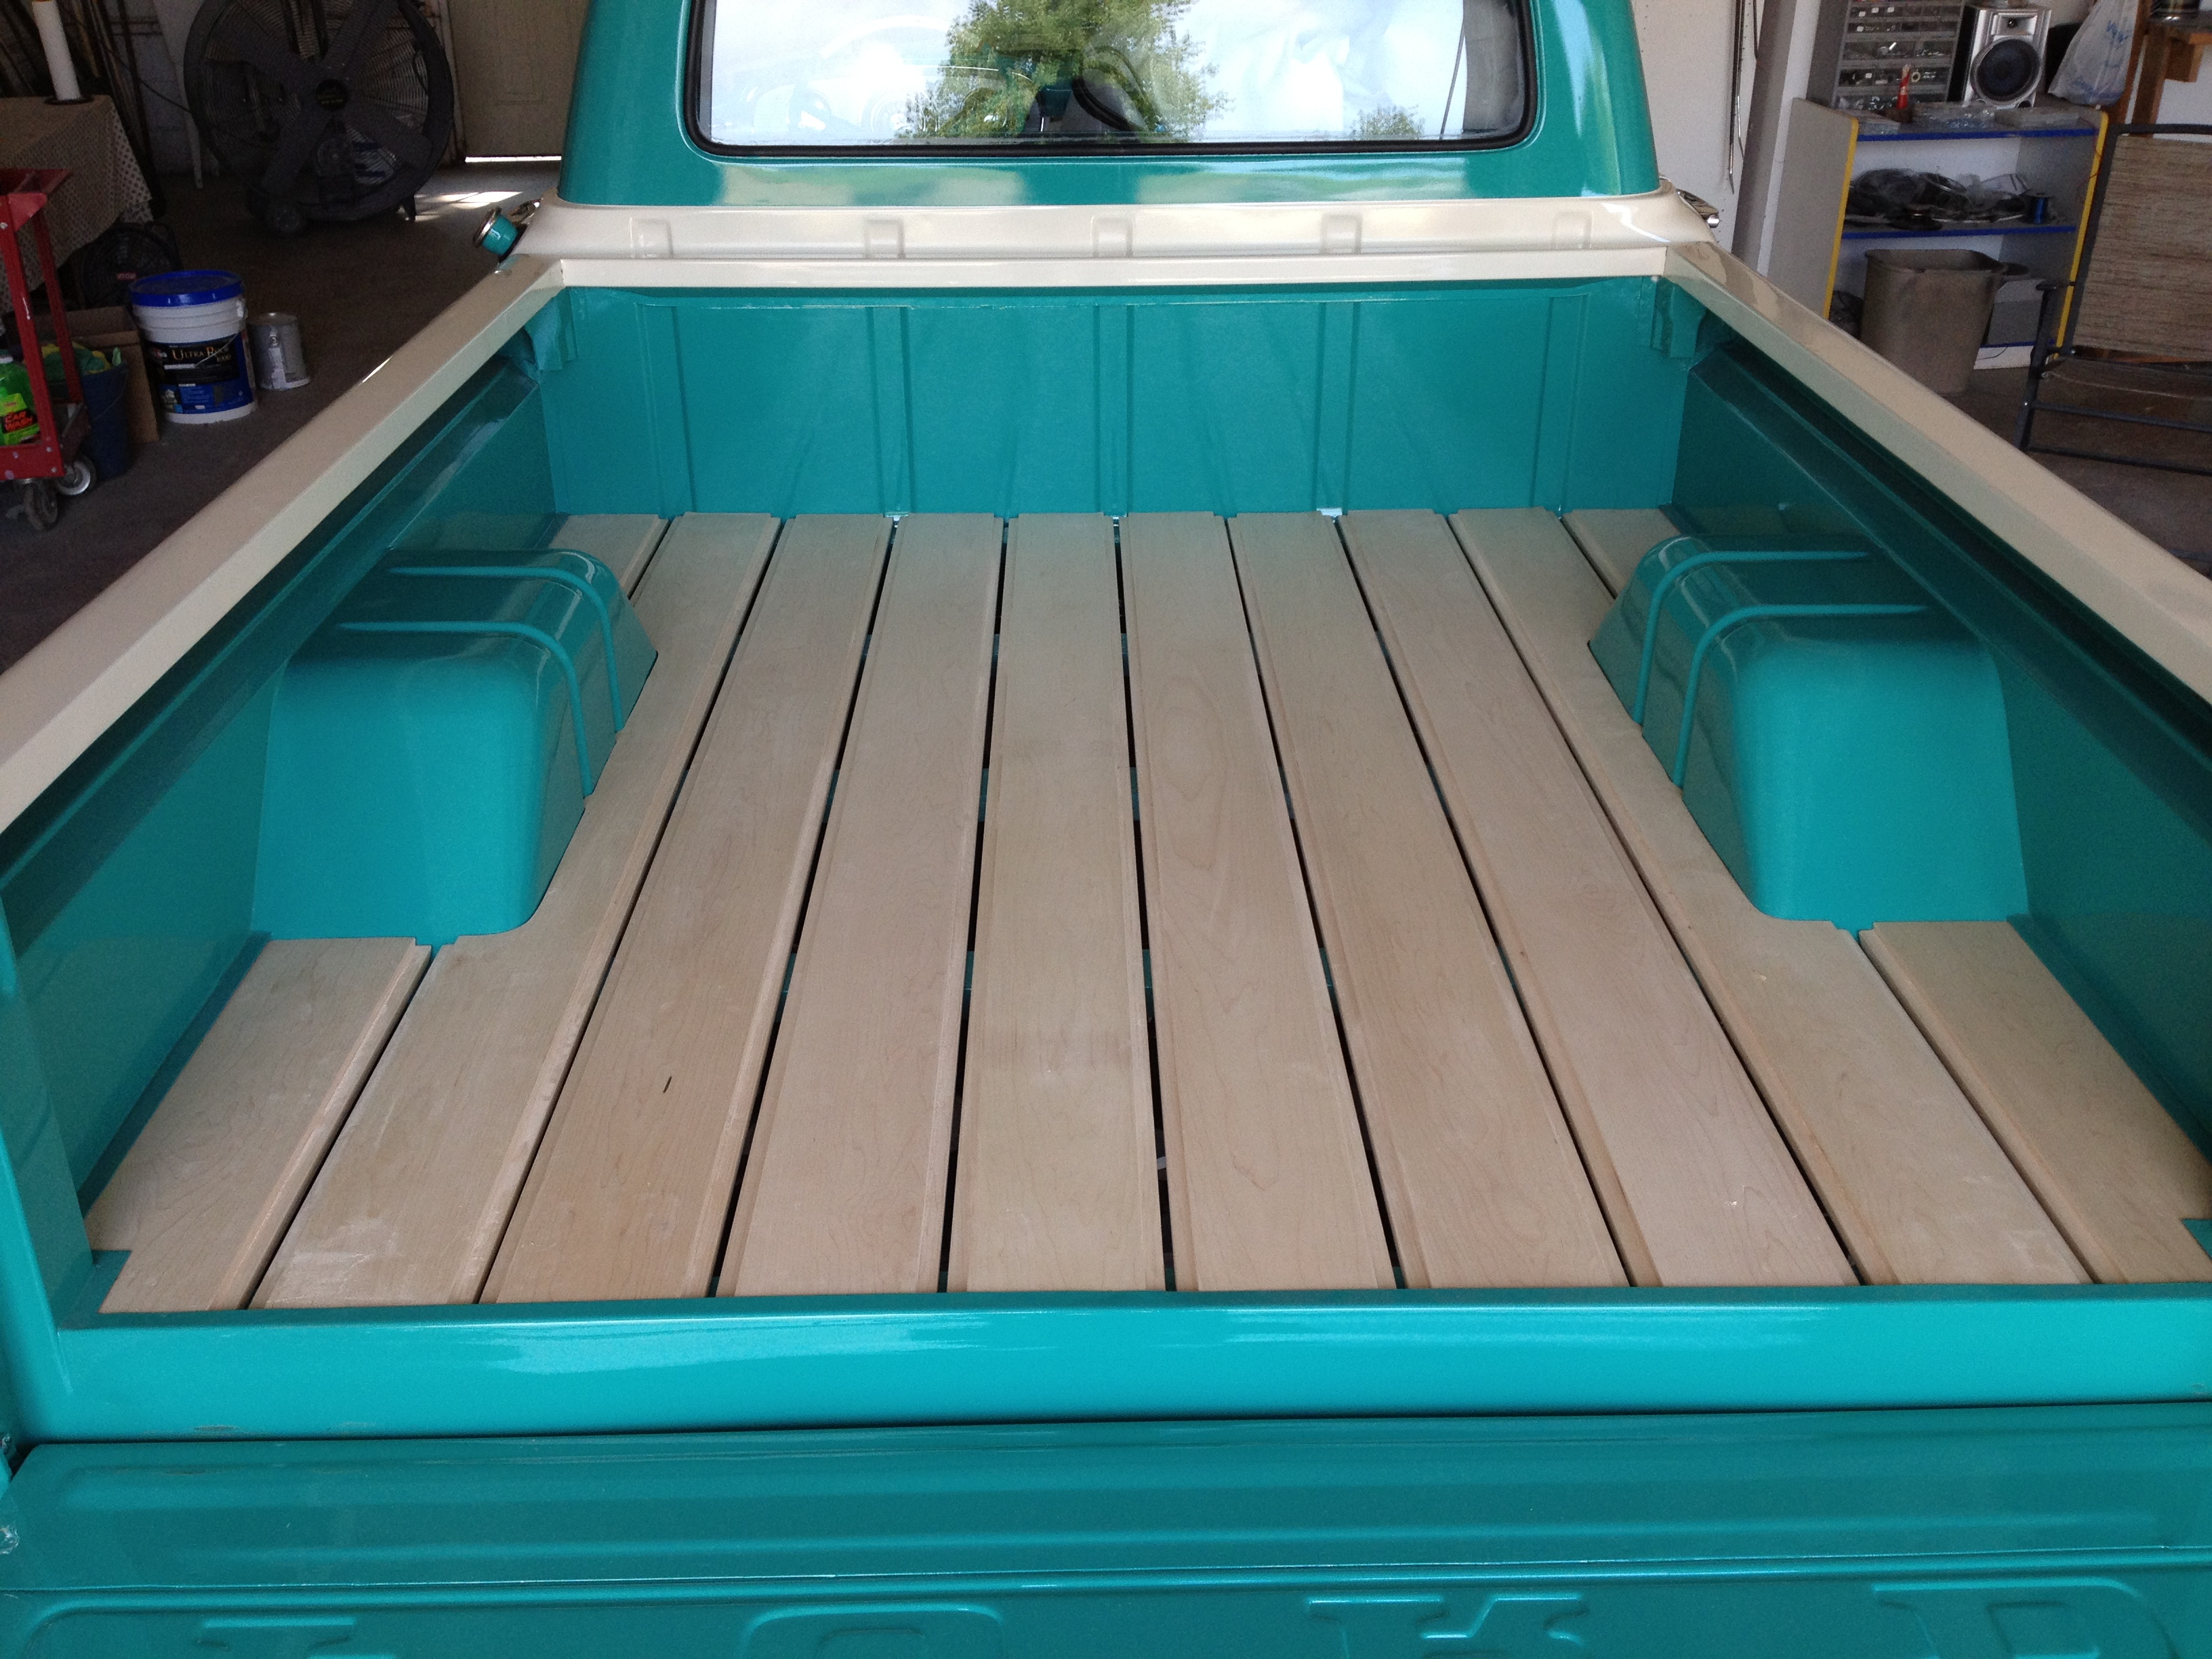
Fabrication kicks into high gear here....we have channeled the bed almost 4 inches down over the '03 frame rails, this allows is a lower stance without too many suspension mods. Then you will see that we have hand made a 1 inch border that will be painted body color and will cover the edge of our polished wood bed floor. more progress Soooonn.....
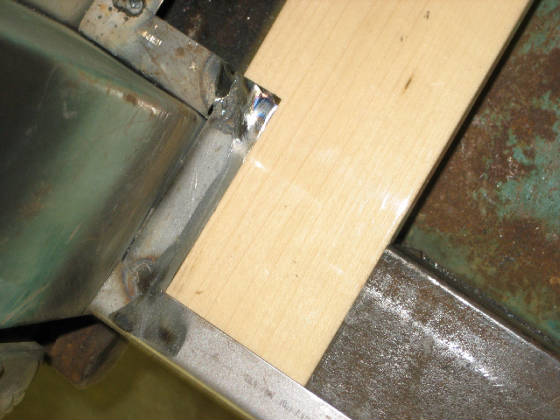
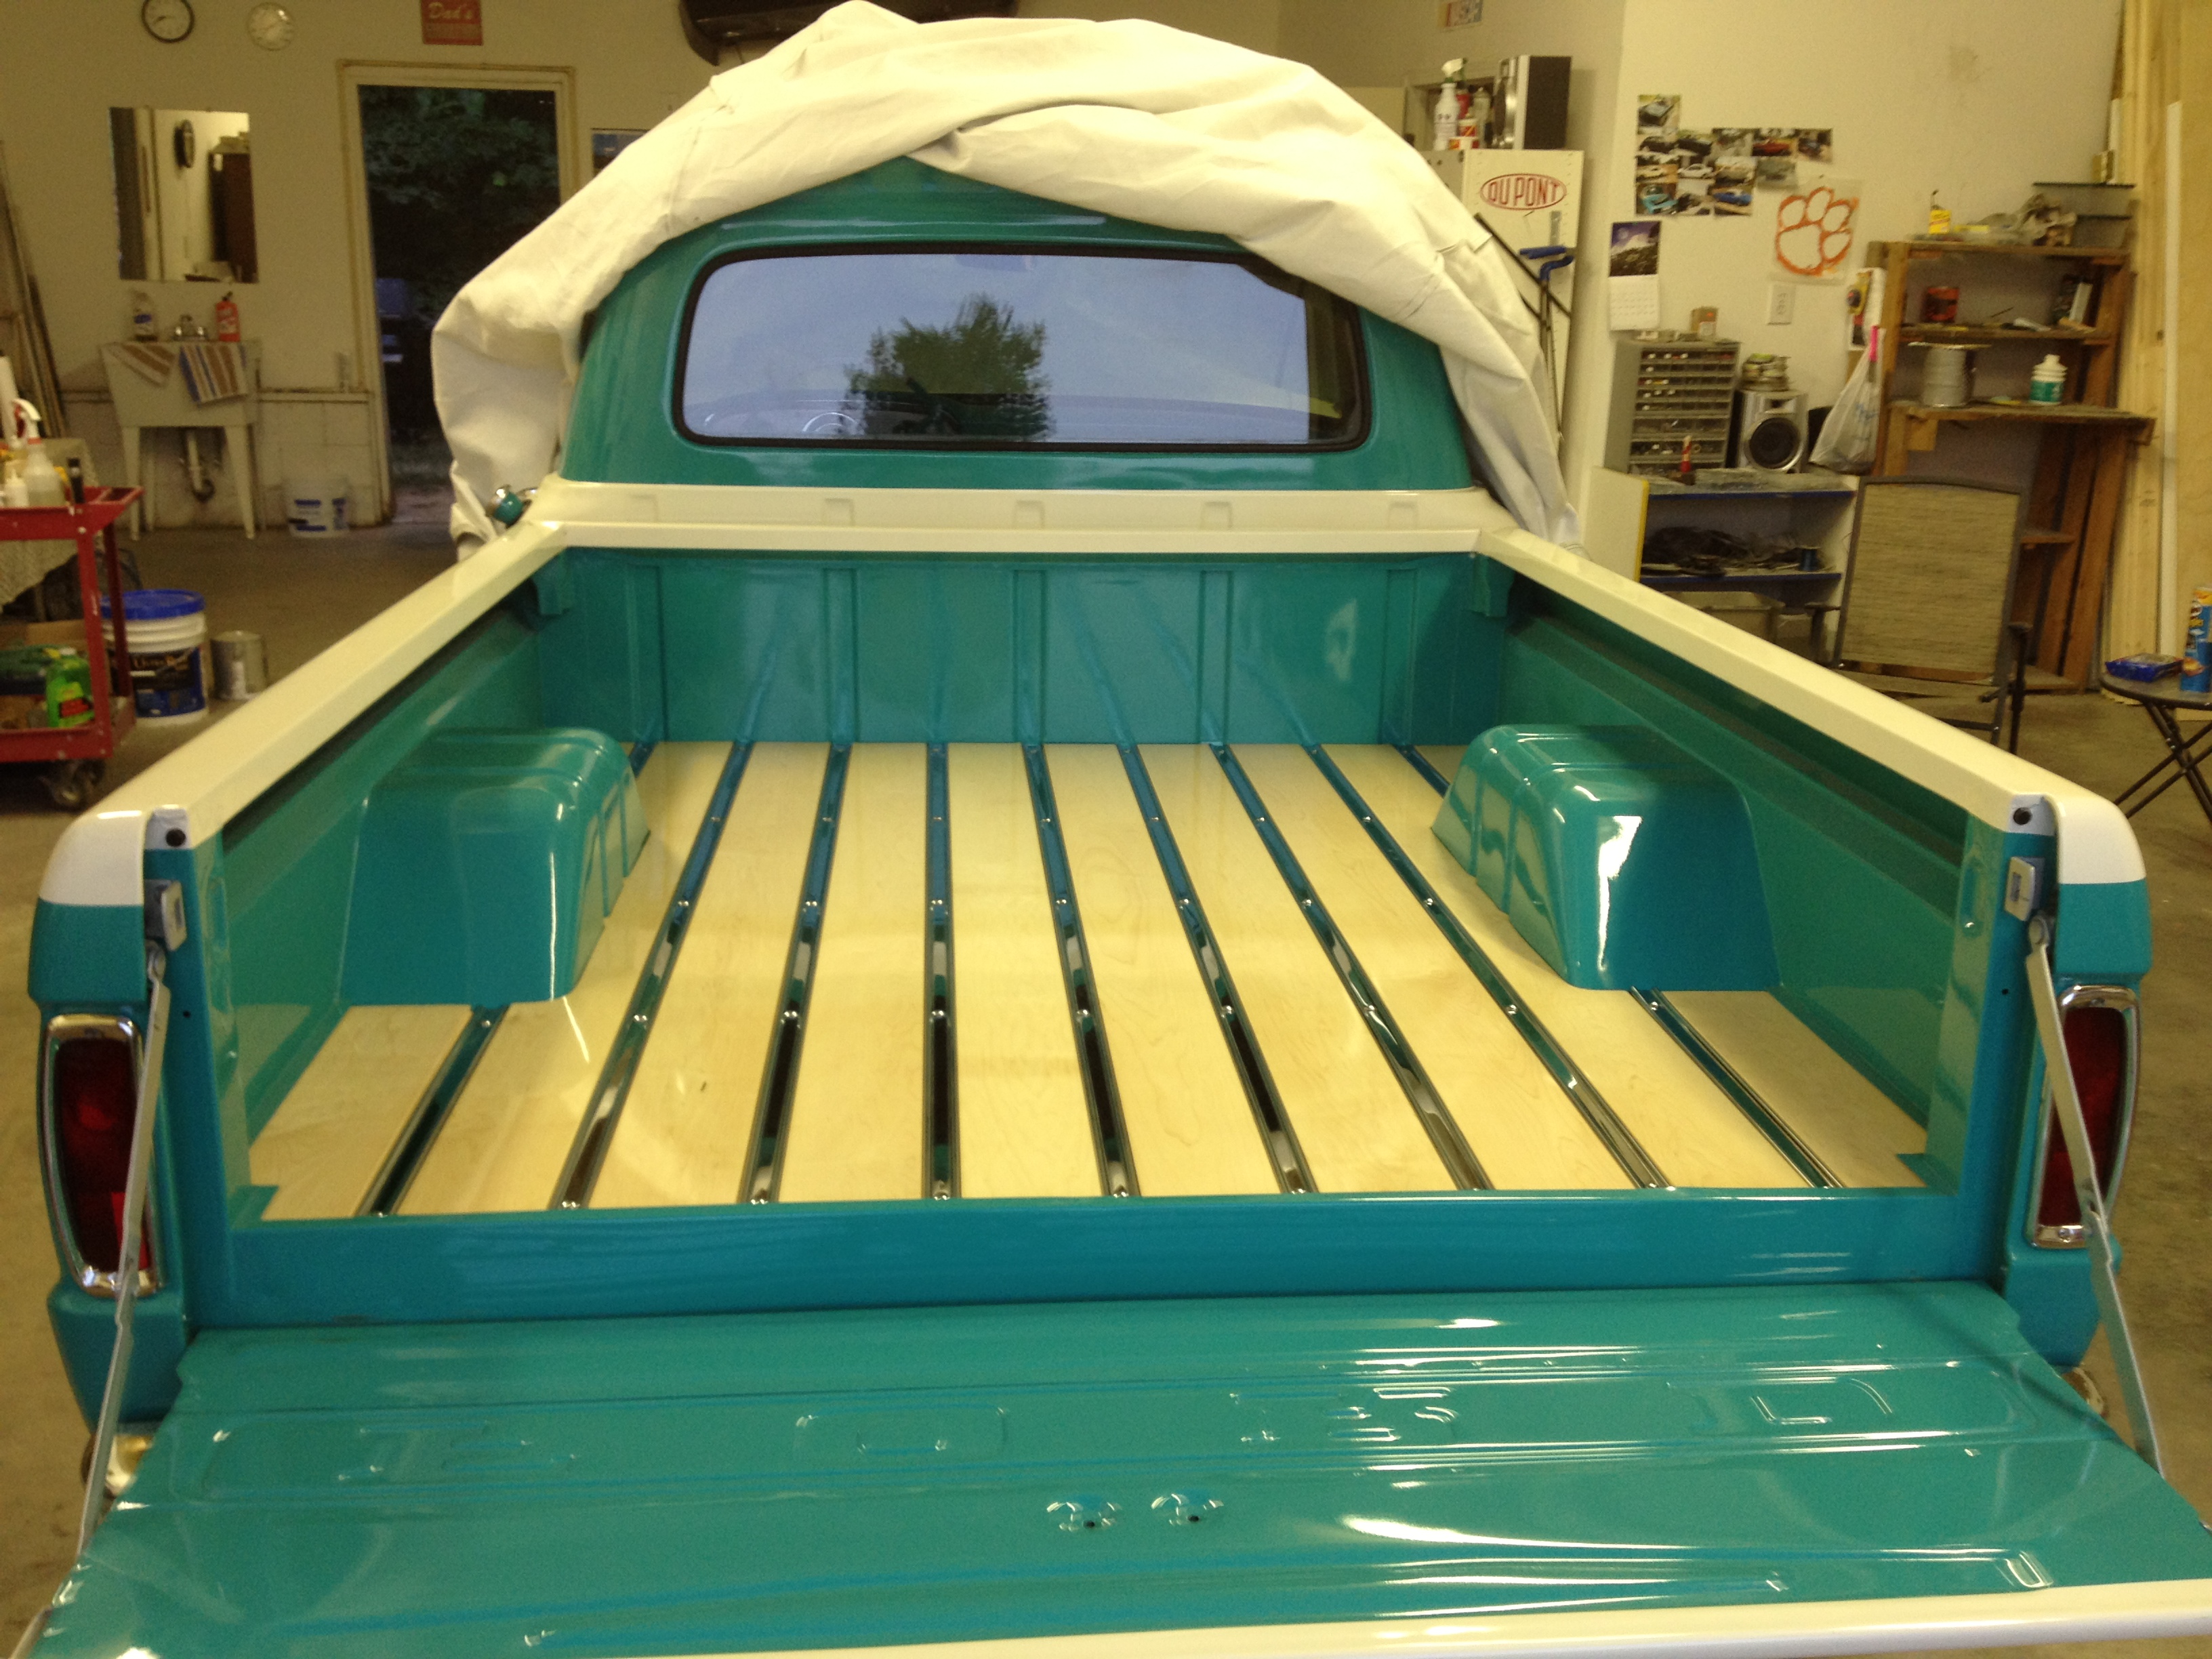
Here you can see the wood bed being fabricated from scratch , notice the attention to detail were the wood wraps around the wheel wells and how closely the wood fits to the edge molding we also hand made for the bed....
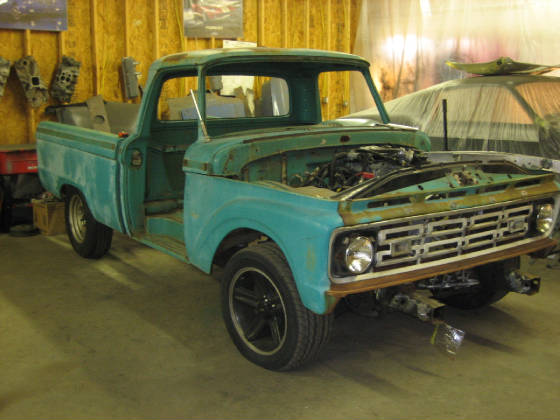
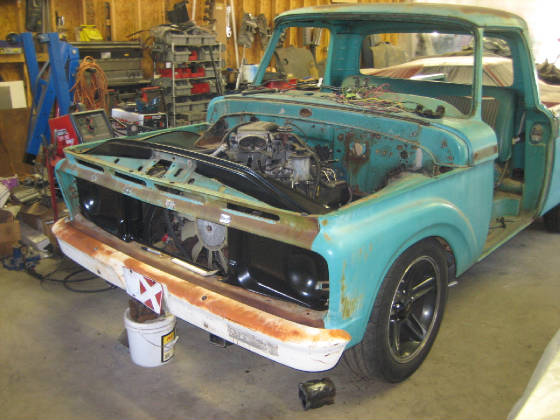
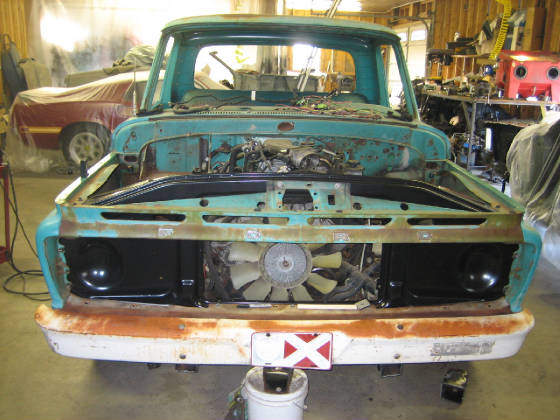
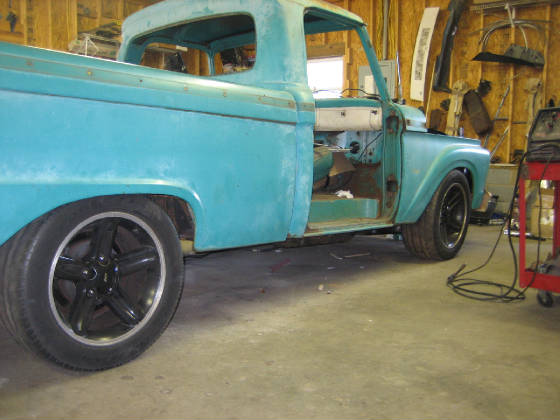
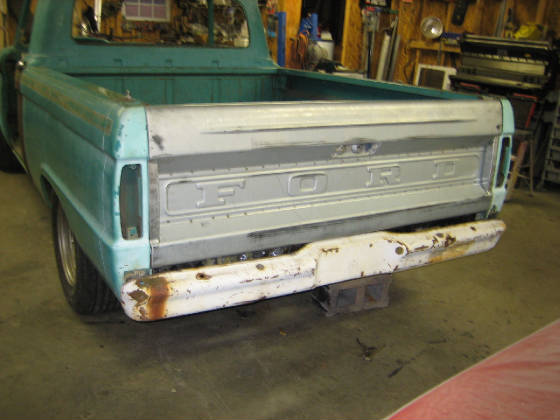
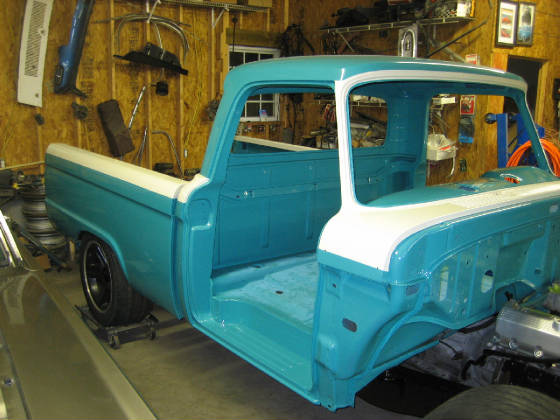
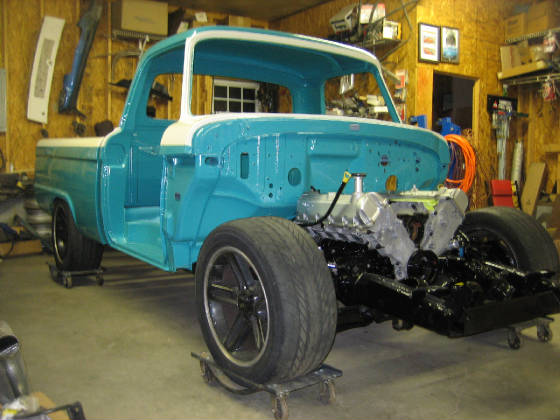
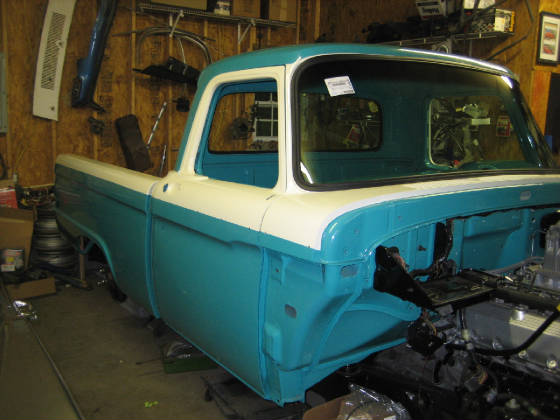
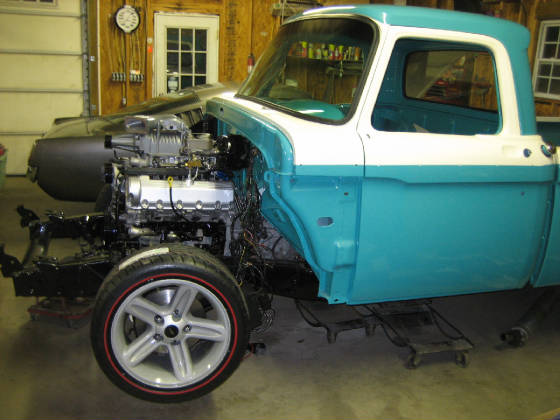
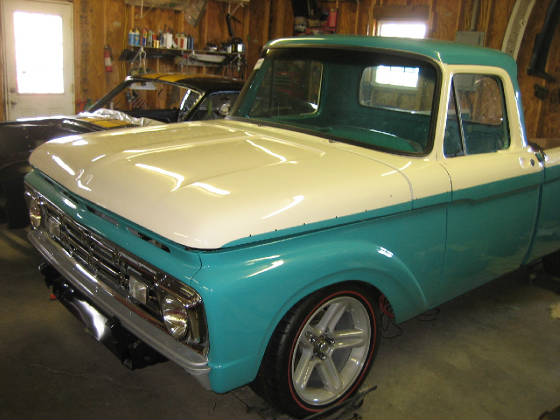
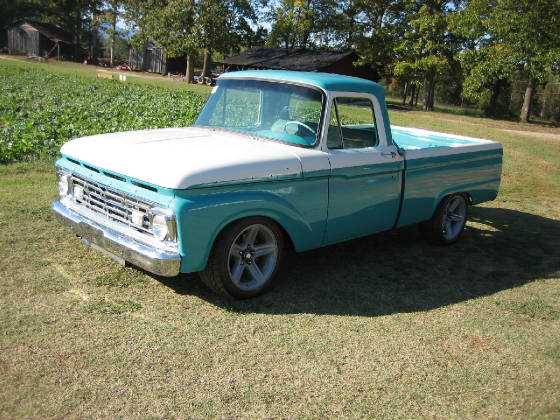
Here we have the trucks new lowered stance , fitted front bumper, new core support, and new tailgate fitted before paint...check back very soon to see how we chop 4 inches out of the front bumpers width to tuck it into the body and give it a clean yet almost undetectable look......more soon....
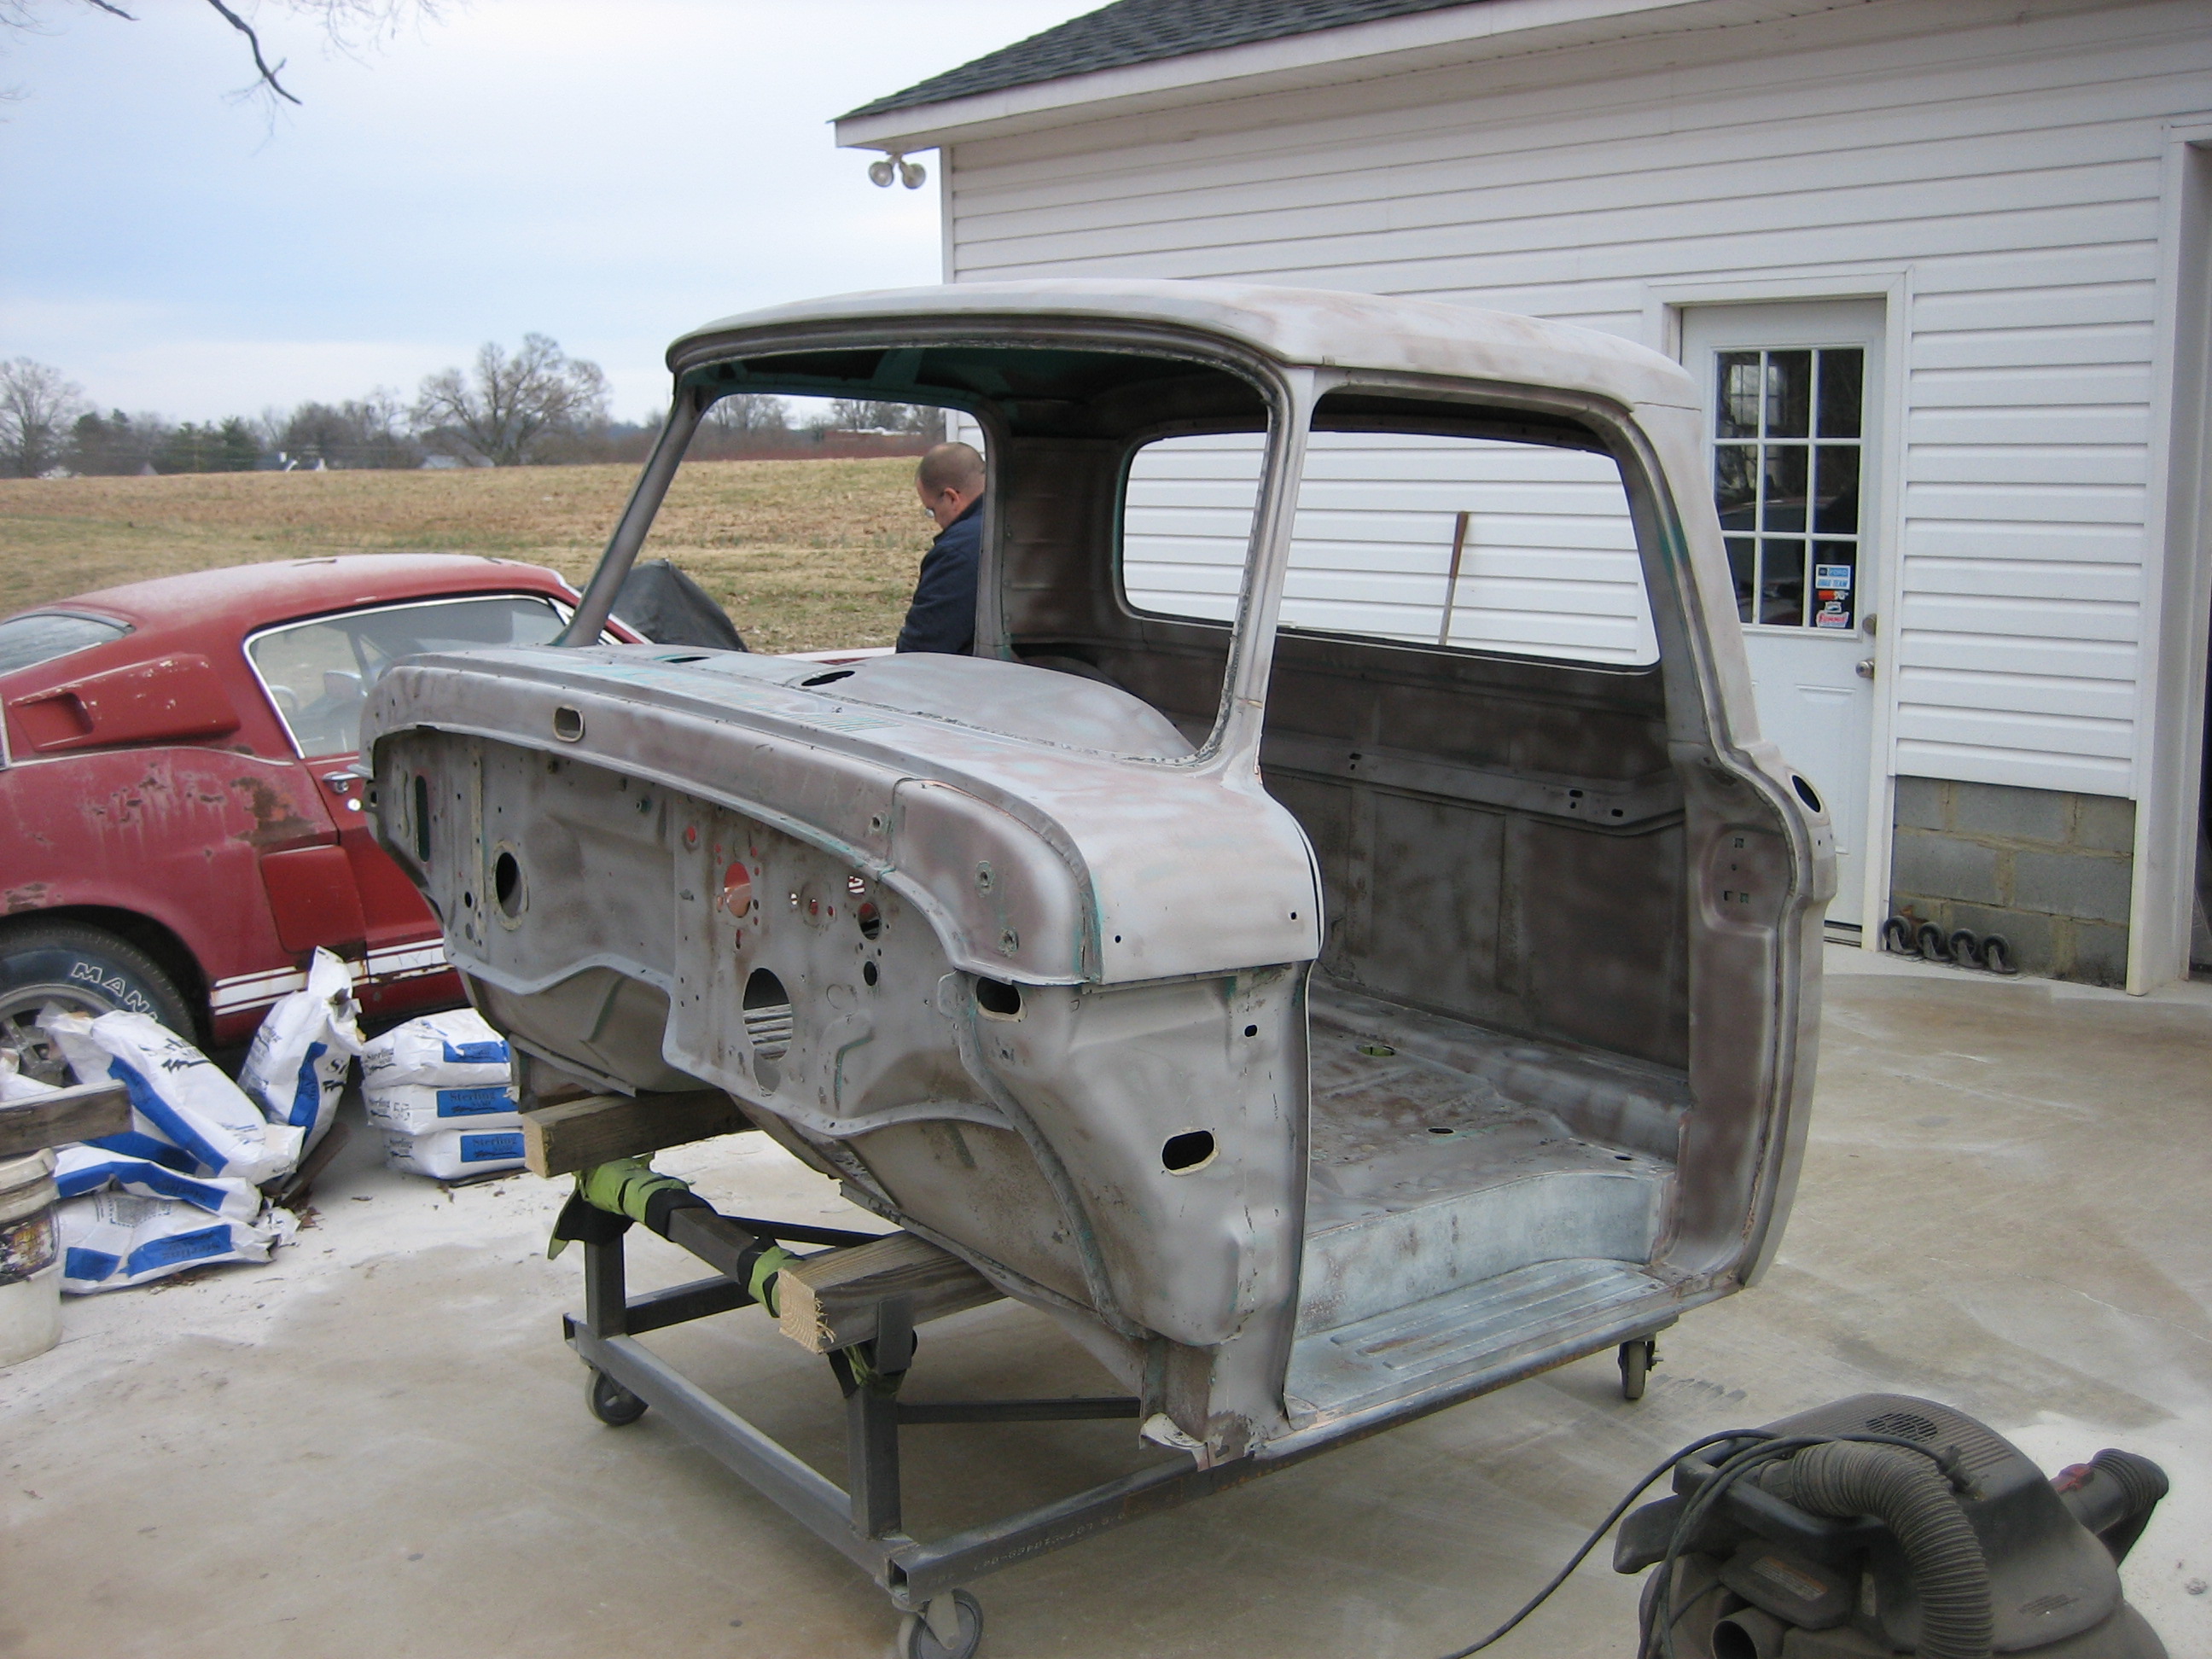
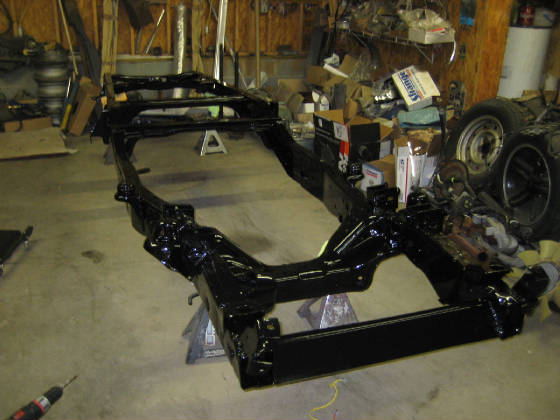
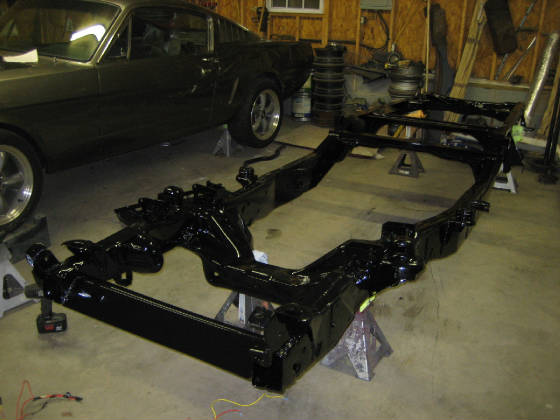
Fabrication is complete! Now its coming apart for blasting and paint/powder coat work.....
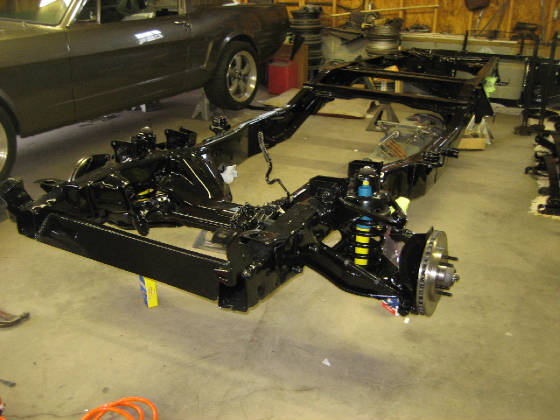
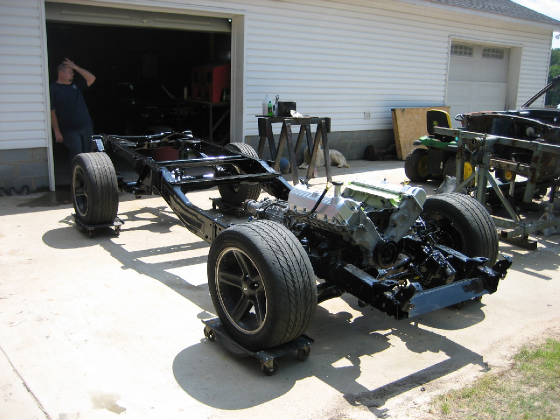
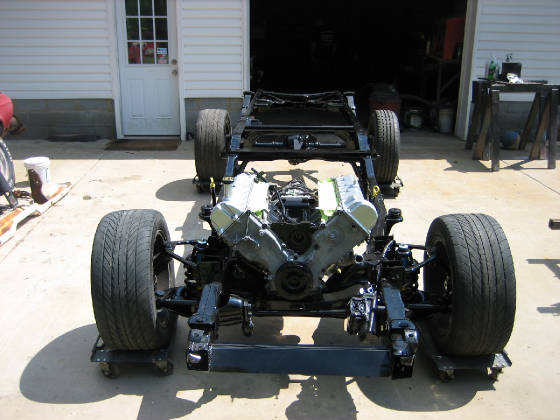
Frame just came back from powder coating! Along with a ton of other parts. Look for updates in the coming days of a rolling chassis and next the freshly painted body parts start going on!
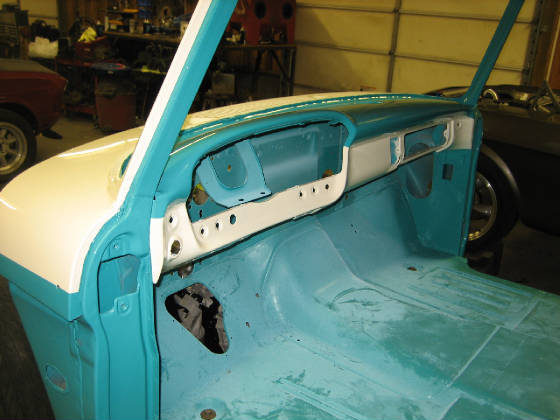
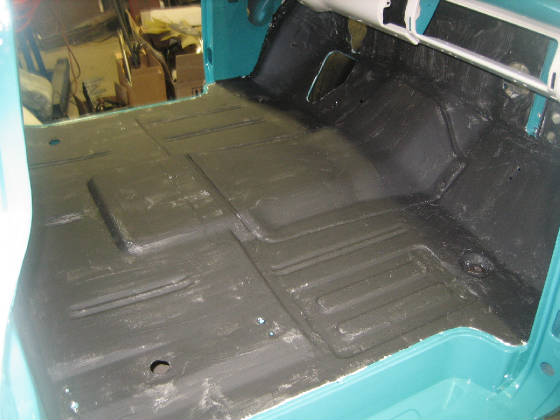
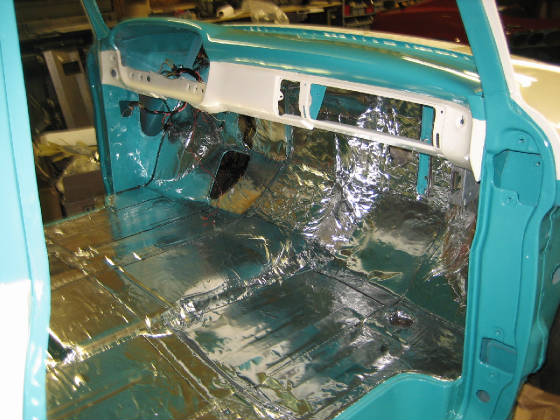
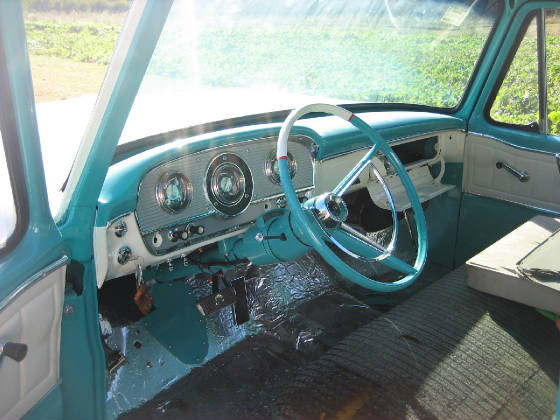
Below you can see the three layers of sound deadener and temperature control materials we added to the inside of the cab. The products are from Second Skin audio . The white layer is called "firewall" and is a ceramic coating that is said to reduce heat by 30-40 % .The second purplish colored layer is call 'Spectrum Spray " and is a thick coating designed to reduce resonating sounds . The 3rd layer is the "Damplifier pro' coating which has both sound deadening and insulating qualities. The three together produce a surface that if struck by a rubber mallet, will not give the slightest hint of sound vibration or ringing at all. Just a small quick "thud" ....If you dont understand how dramatic of a difference that is , go out and bang on any sheetmetal surface you can find and listen to how long it rings with sound....Point is this stuff really works, and this truck is getting the best quality through each inch of the build!!!
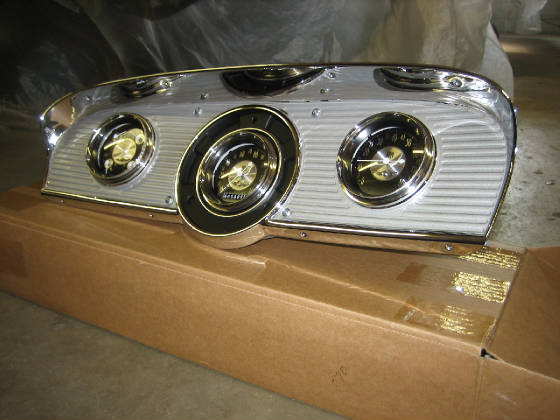
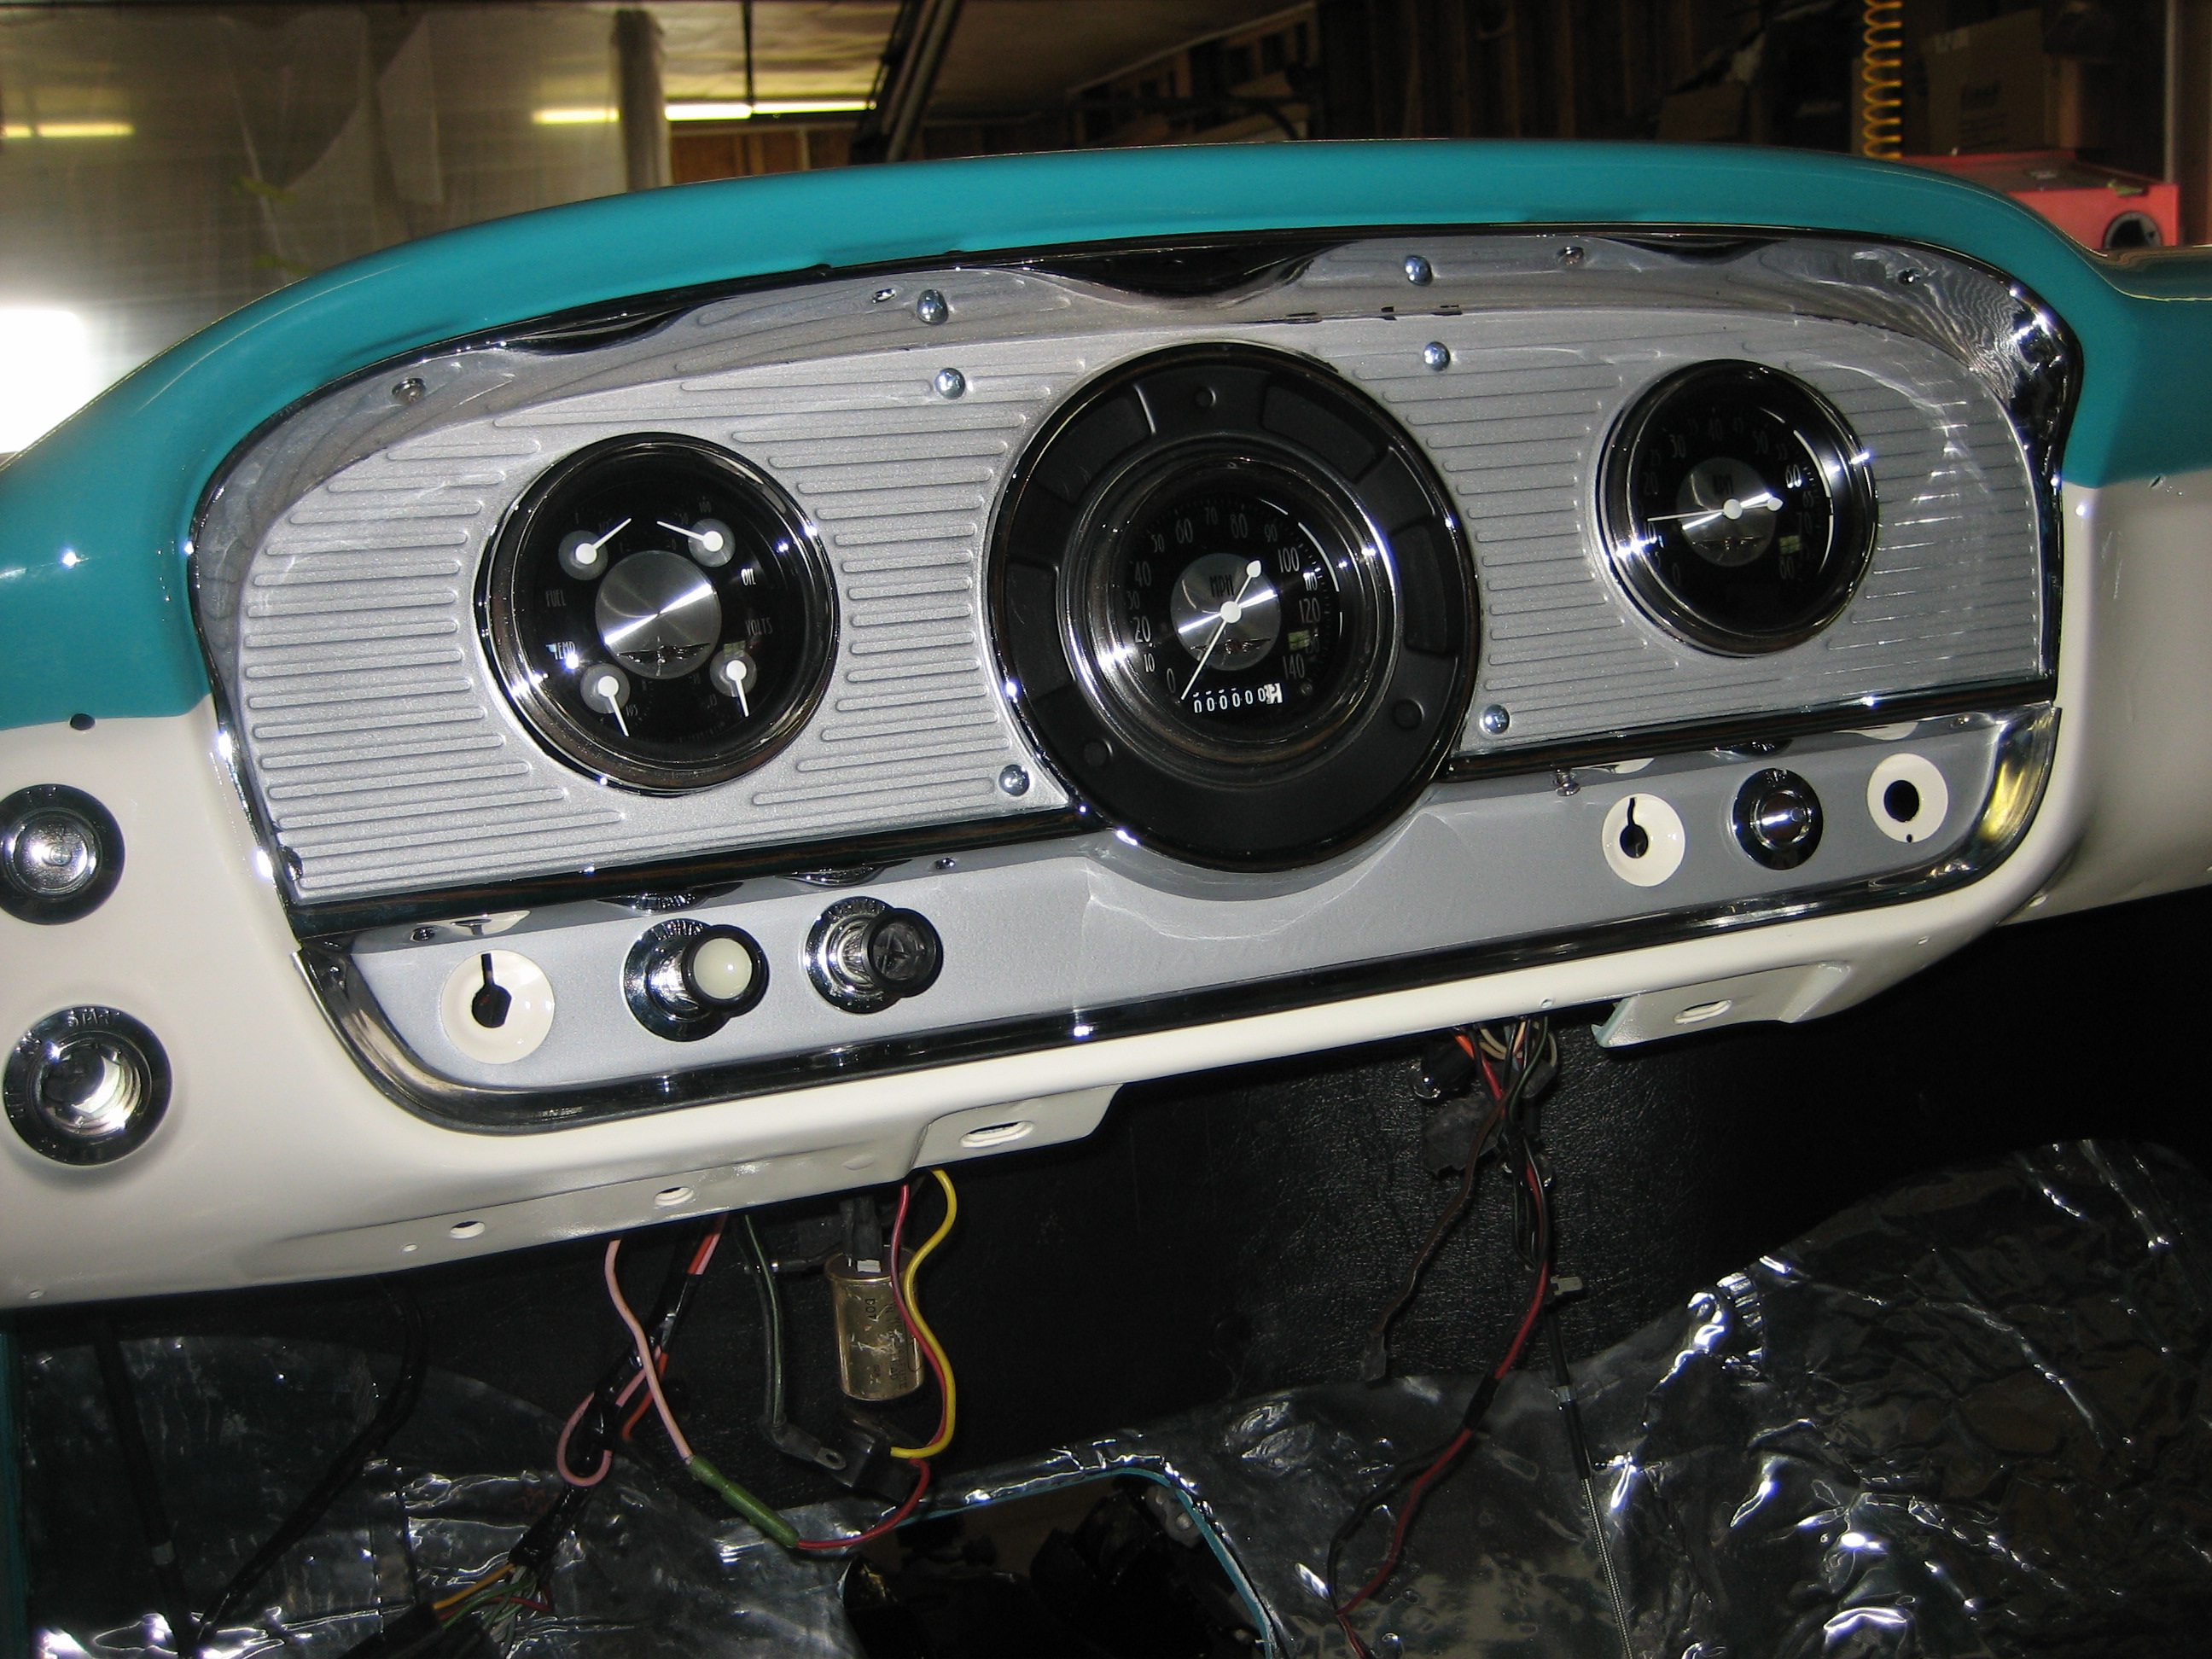
New Classic Instruments gauges installed into the freshly re-chromed original instrument bezel....Almost looks factory doesnt it!
Last but not least .....The freshly two-toned hood is installed..
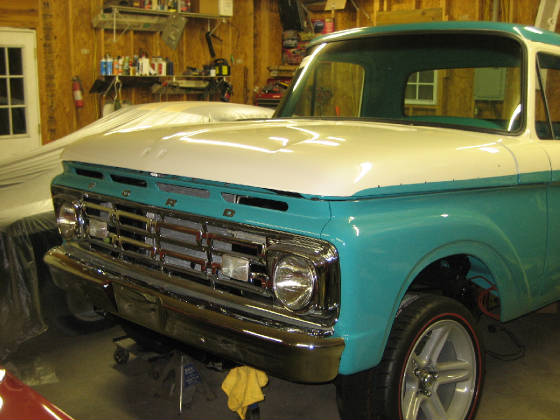
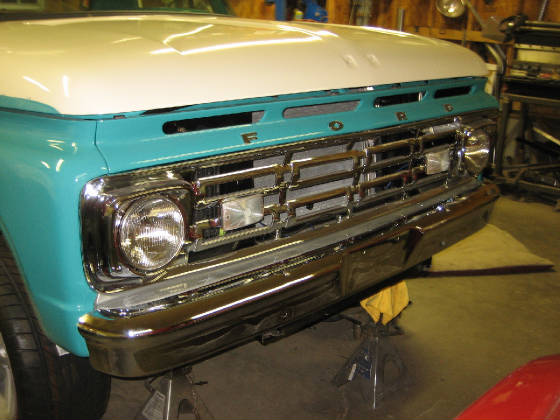
Here we have the freshly plated front bumper installed....In case you didnt notice this bumper has been sectioned a total of 4 inches (2 from each side) welded back together and then contoured on the edges to flush fit with the fenders....Just another detail youll never notice unless its side by side with a stock 64 F100
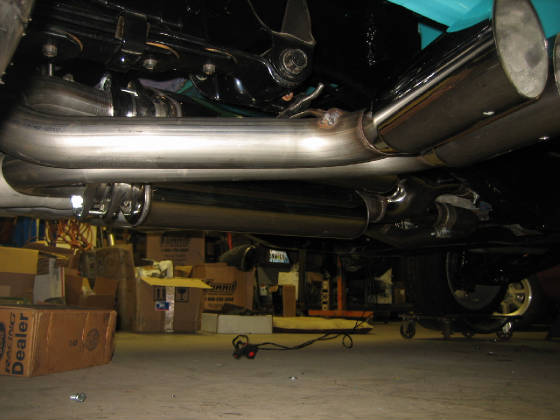
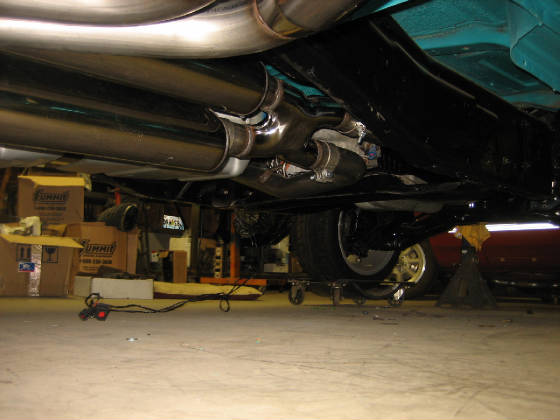
We have just installed a complete Bassani stainless steel exhaust system , which includes a polished stainless X-pipe, into 2 polished stainless mufflers, and exiting out dual polished stainless tips just in front of the rear passenger side tire ....
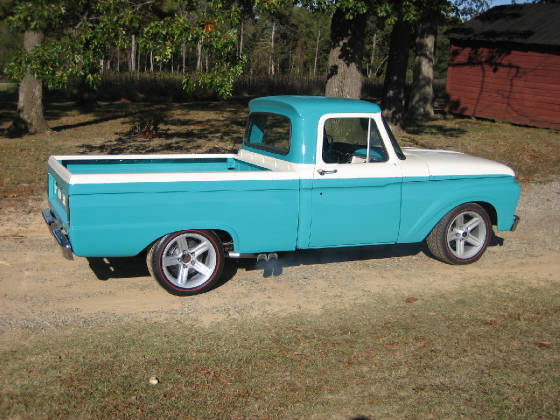
And here she is just moments before we loaded her up for the 1 hour drive down to Rick and Linn @ Amazon
Tuning Solutions for her Dyno tune sessions. Check back here for the video of her on the Dyno and the number she puts
down!
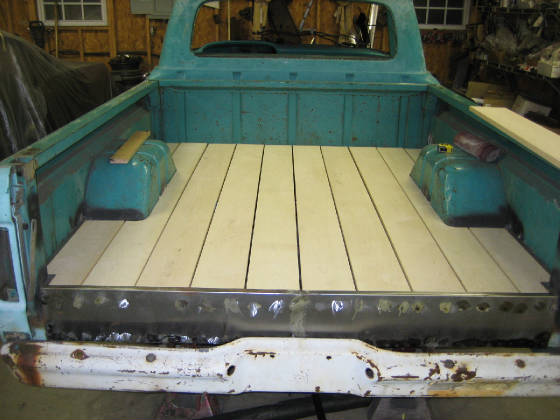
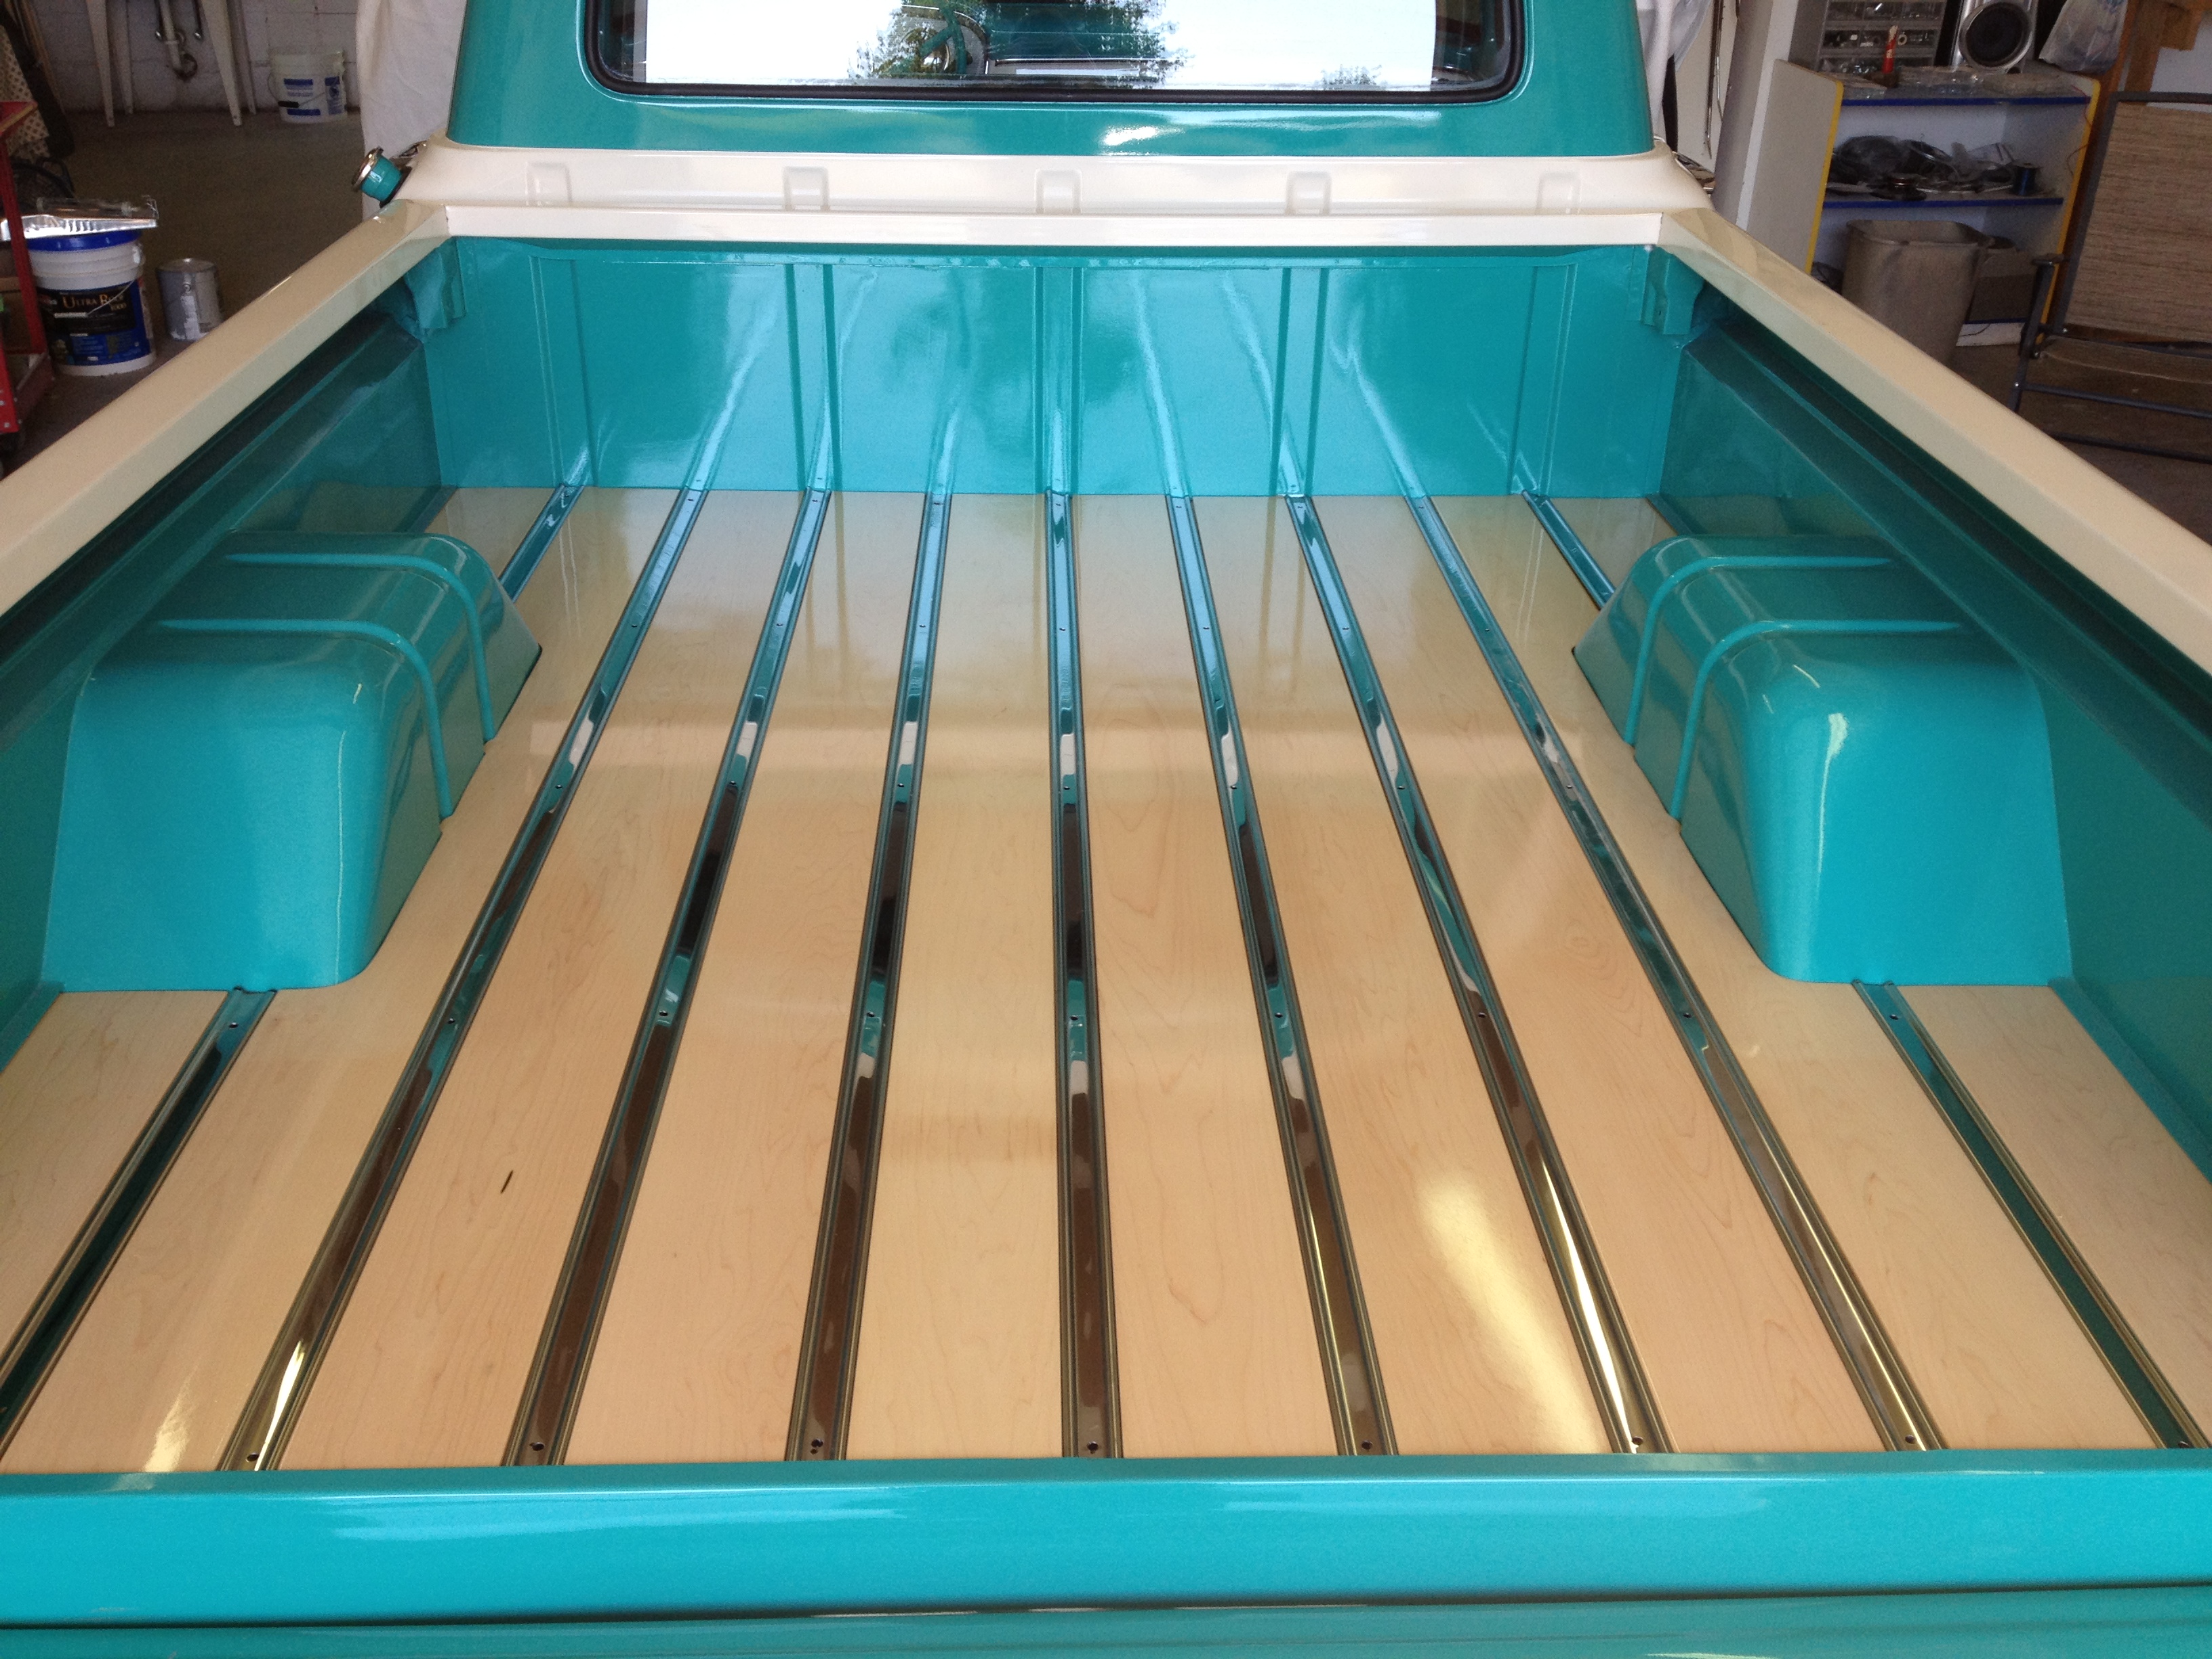
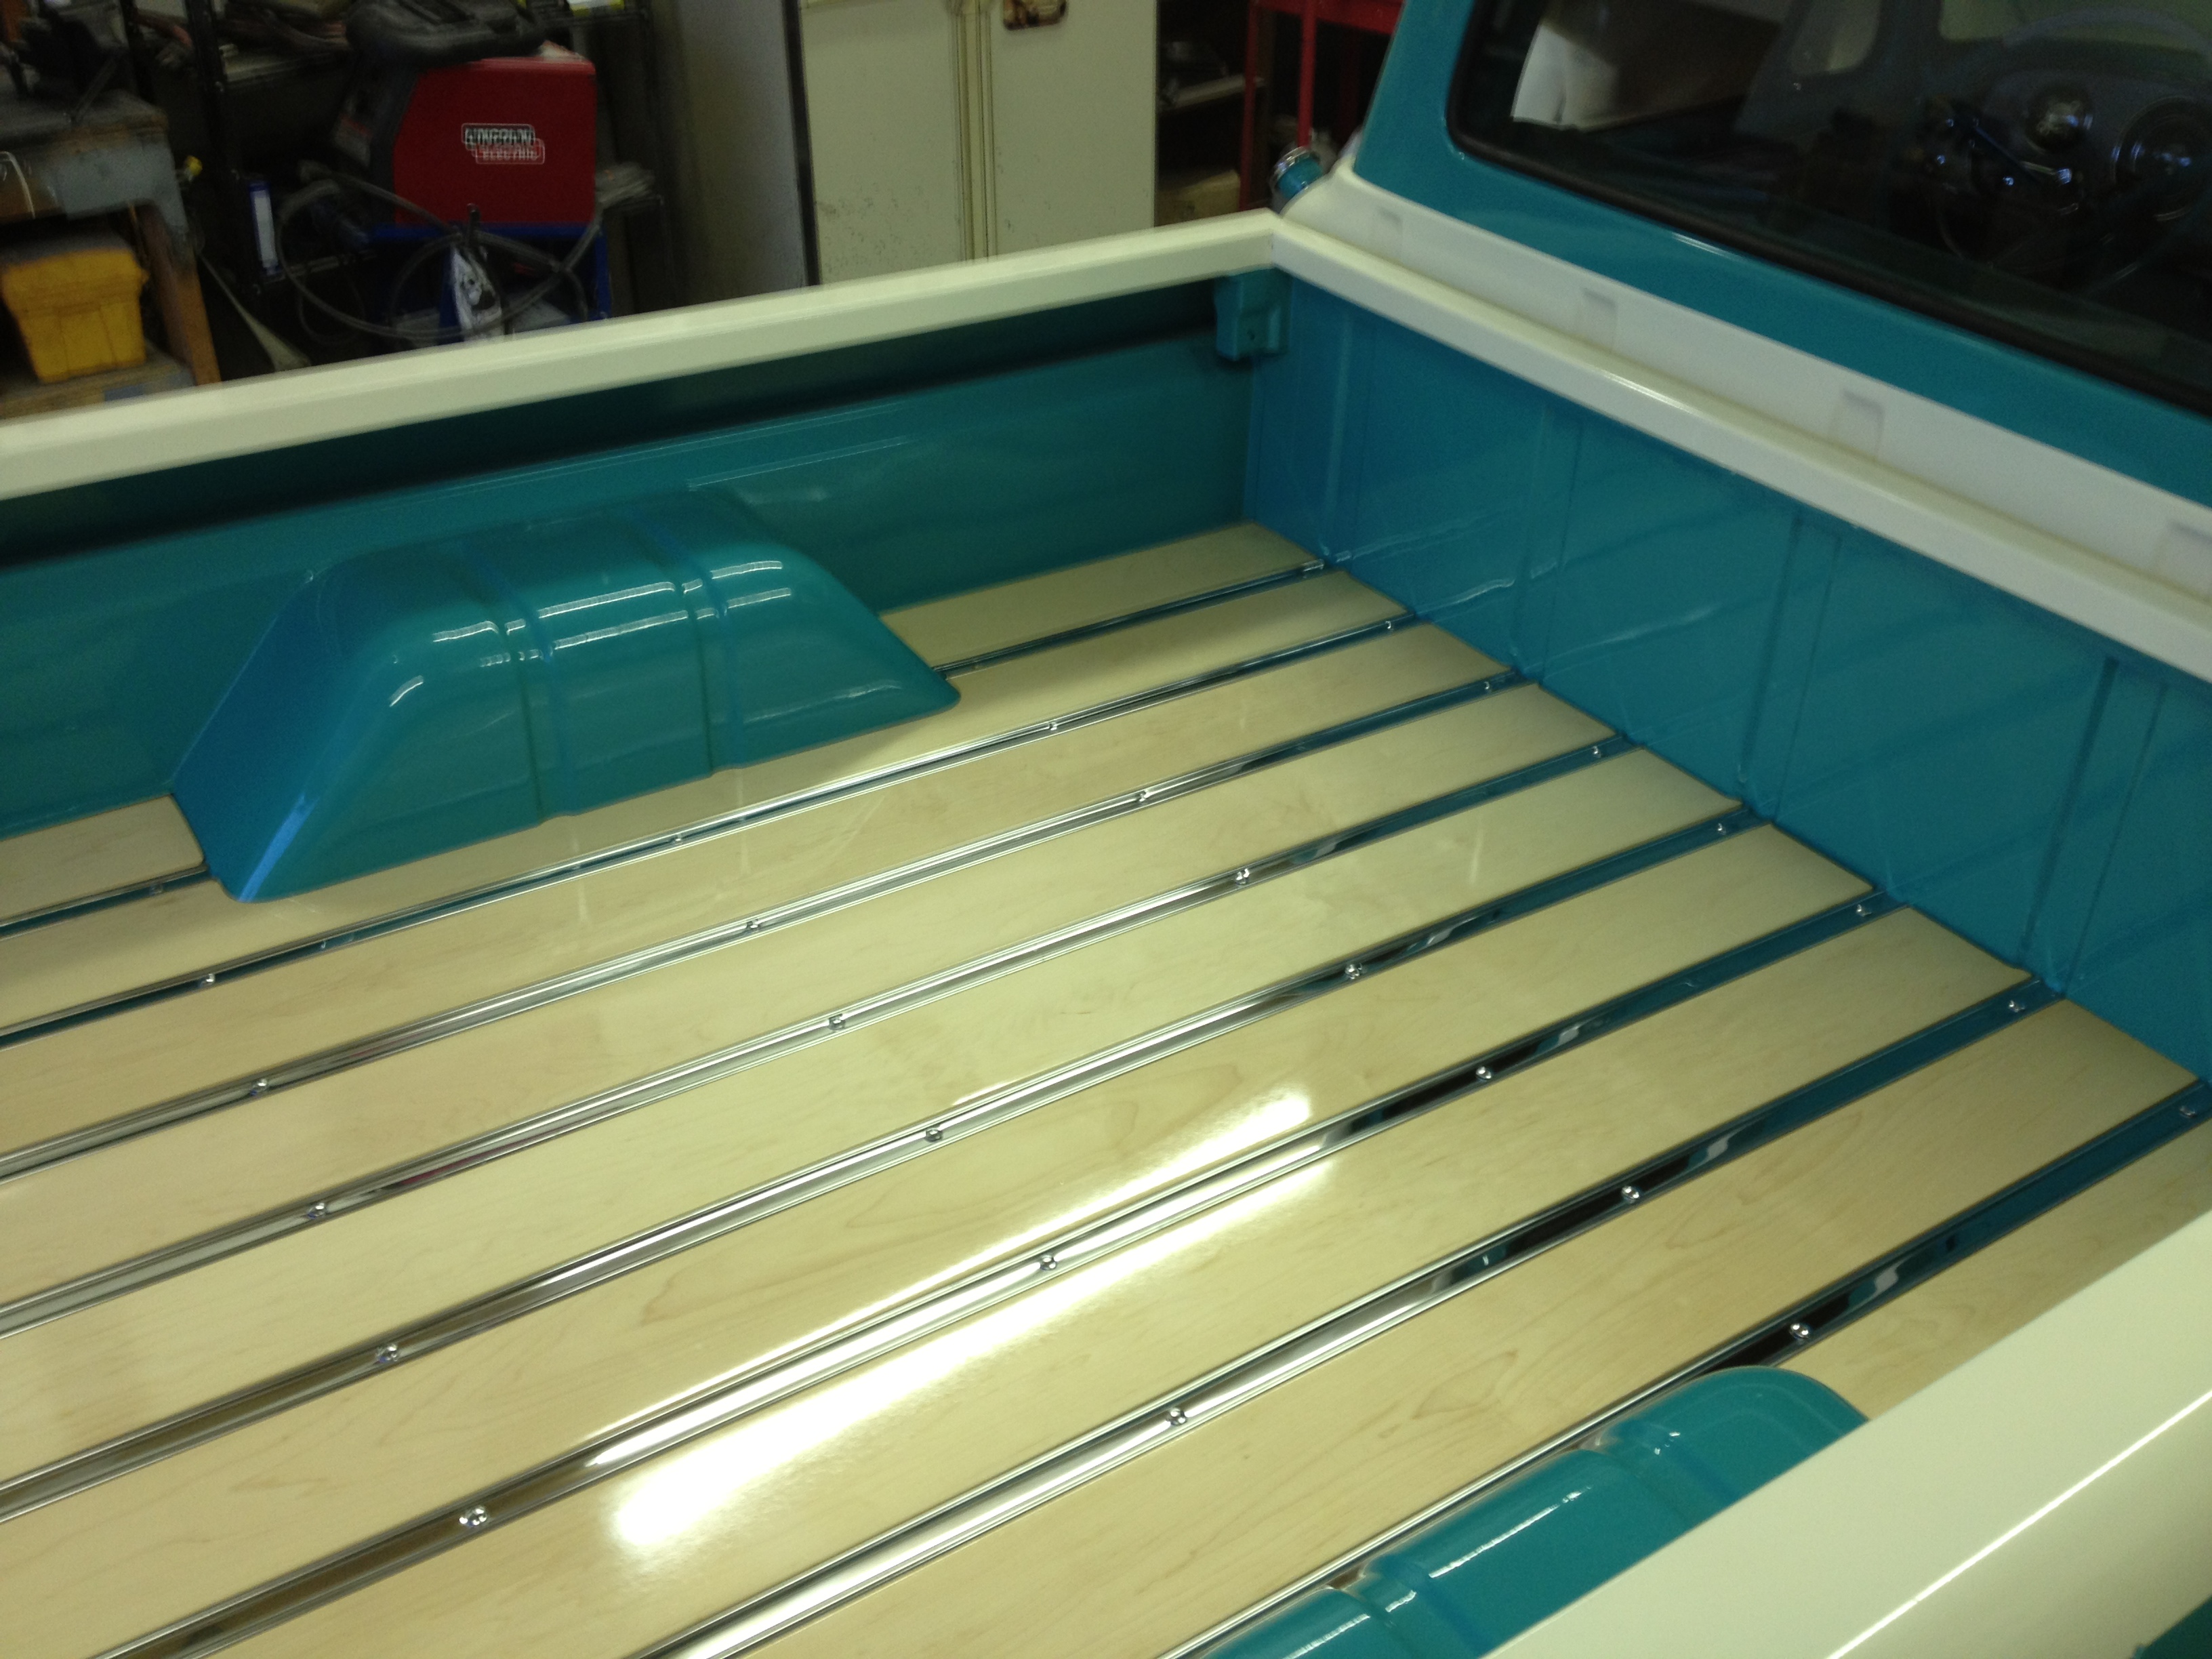
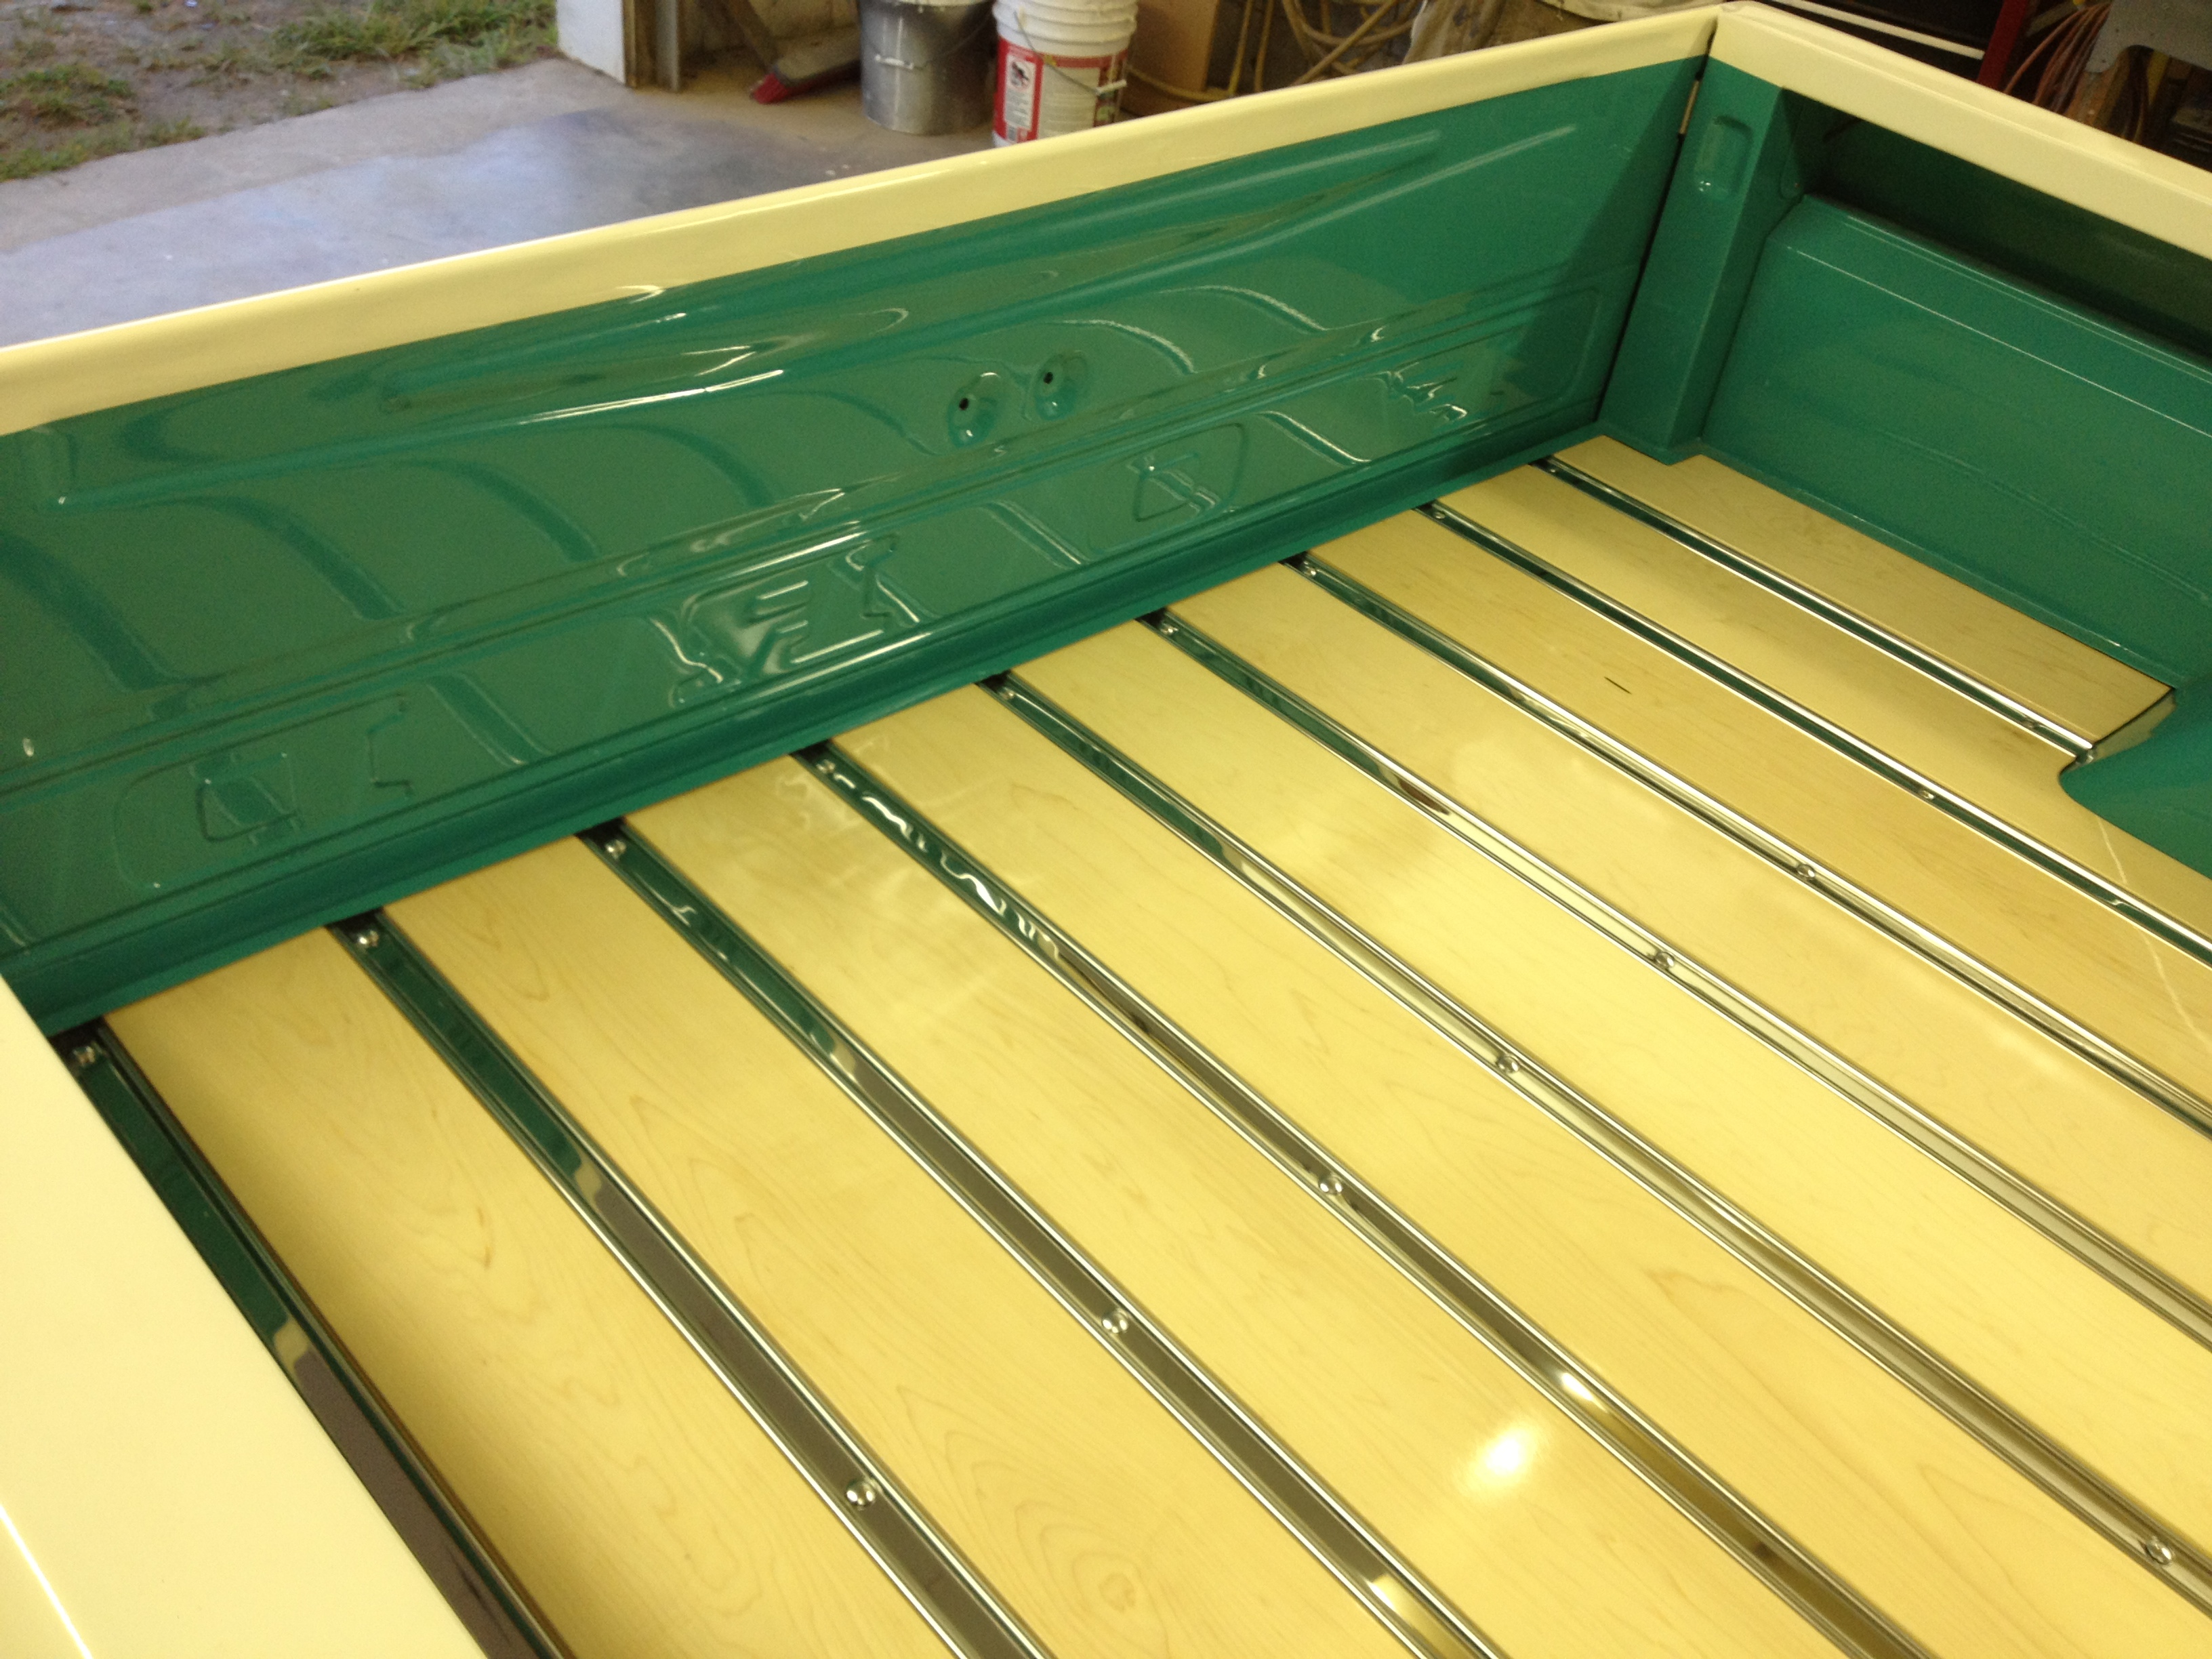
Here we have the entirely hand made wood floor assembly being installed. We cut to length stainless steel strips sanded and polished them to go in between the maple planks that were hand cut and fitted to our modified bed. It looks better than factory, but the catch is the factory never installed a wood floor in a fleetside bed.
Enter subhead content here Enter content here Enter content here Enter content here Enter content here |


|